
Google quietly shipped a massive update to the creative industry last week. They replaced their older VEO video model with a new multimodal engine called Gemini Omni. And they wrapped it inside a web-based creative studio called Google Flow. You hand it images, text, and video. It builds complete, consistent films.
Table of Contents
- ●What is Google Flow AI?
- ●Step 1: Steal prompts from Flow TV
- ●Step 2: Use the AI agent for storyboarding
- ●The golden rule of consistency
- ●Step 3: Manual mode & the character library
- ●Step 4: Conversational video editing
- ●Step 5: Building custom tools
- ●Pro tip: The Claude prompting trick
- ●Pros and cons of Google Flow AI
- ●Pros
- ●Cons
- ●Frequently asked questions
- ●Is Google Flow AI free to use?
- ●How do I keep faces consistent in Google Flow?
- ●What is the difference between VEO and Omni?
Most AI video generators force you to roll the dice with every prompt. You get a cool shot. Then the characters change faces, the lighting shifts, and the style breaks. Google Flow solves this directly.
It gives you a multitrack timeline and an AI creative director. You get a dedicated library to store your characters. They look identical in every single scene. Omni Flash processes up to 2 million tokens natively. That means it reads a 60-second video as one single data block. It calculates the physics of light across every frame simultaneously.
What is Google Flow AI?
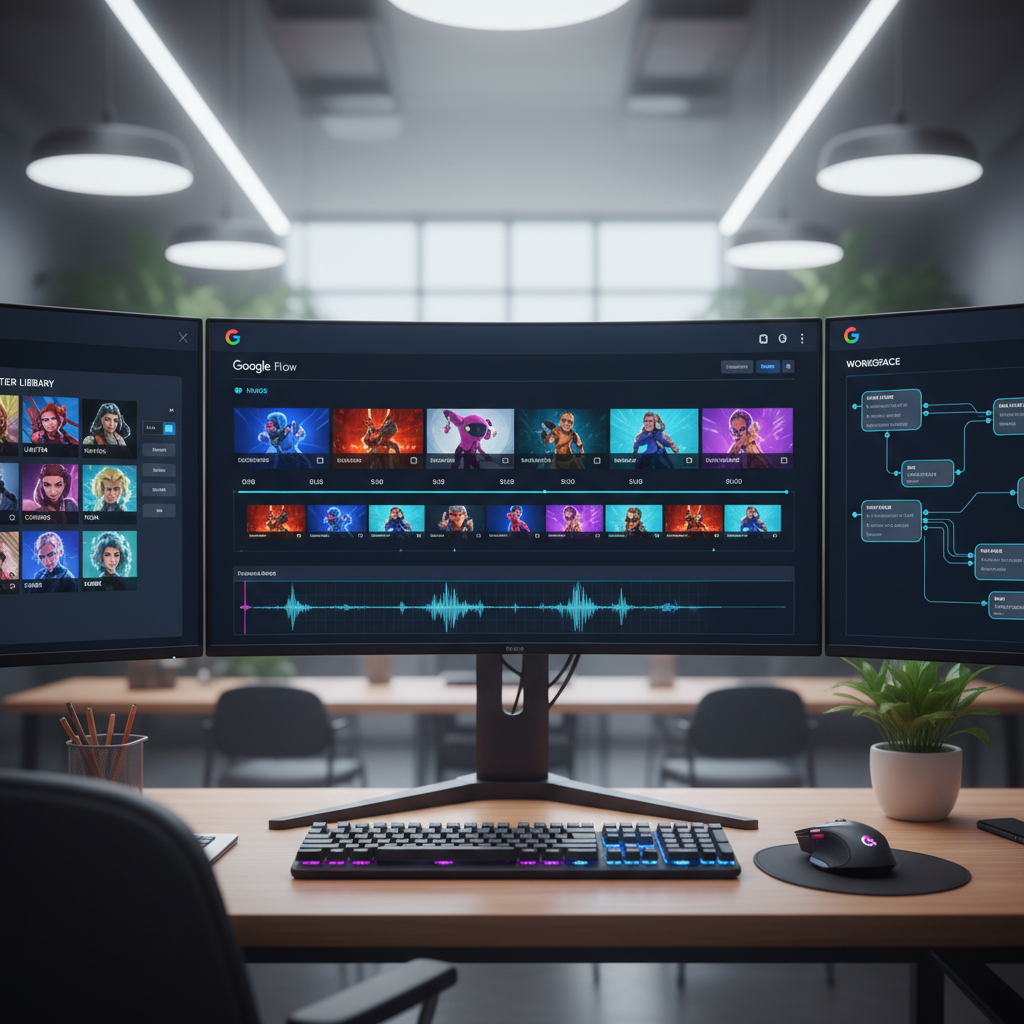
Google Flow is a web-based AI filmmaking studio. It runs directly in your browser at Google Labs. Standard prompt boxes give you a random 4-second clip. Flow mimics a real post-production environment.
It uses 2 main models. The first is Nano Banana 2. This handles high-resolution image generation for storyboards and character design. The second is Gemini Omni Flash. This handles the actual video rendering and motion.
Omni is a multimodal model. You can read more about multimodal systems on Wikipedia. It processes text, audio, images, and video references simultaneously. It does not just paste a face onto a new body. It calculates how light hits that specific face from different angles. You drag and drop assets onto the timeline. You apply audio tracks directly underneath the video files. The engine syncs the lip movements automatically.
| Feature | Google Flow (Omni) | Older Google VEO | OpenAI Sora |
|---|---|---|---|
| Input Types | Text, Image, Video, Audio | Text only | Text, Image |
| Character Locking | Built-in Character Library | None | Prompt-based only |
| Editing Engine | Conversational Timeline | Re-prompt from scratch | Re-prompt from scratch |
You can see how this compares to other models hitting the market right now. Read our breakdown on Gemini Omni vs SeaDance 2.
Step 1: Steal prompts from Flow TV
Look at the top of the Flow home screen before you spend credits. You will find an icon for Google Flow TV. This is a public library of AI-generated clips built by other creators. You scroll through hundreds of finished assets.
Every video on Flow TV displays the exact prompt used to generate it. You type a keyword like “cinematic lighting” or “luxury”. You find a clip that matches your vision and copy the prompt text. This saves you hours of trial and error.
You see exactly how the original creator formatted their camera commands. You learn whether they used “pan left” or “dolly track left”. You also have a “Shuffle All” button. You click it to scroll through styles endlessly. I use this to build mood boards for commercial clients.
Step 2: Use the AI agent for storyboarding
Open a new project. You will see a blank canvas. Click the “Agent” button at the bottom of the screen. This agent is your AI creative director.
You do not write separate prompts for 10 different camera angles. You give the agent a single, high-level brief. We are going to build a high-end luxury ad. I want it inspired by brands like Cartier. The agent parses your brief into distinct camera setups. It assigns a specific focal length to each shot. It writes the exact lighting conditions needed to match your mood.
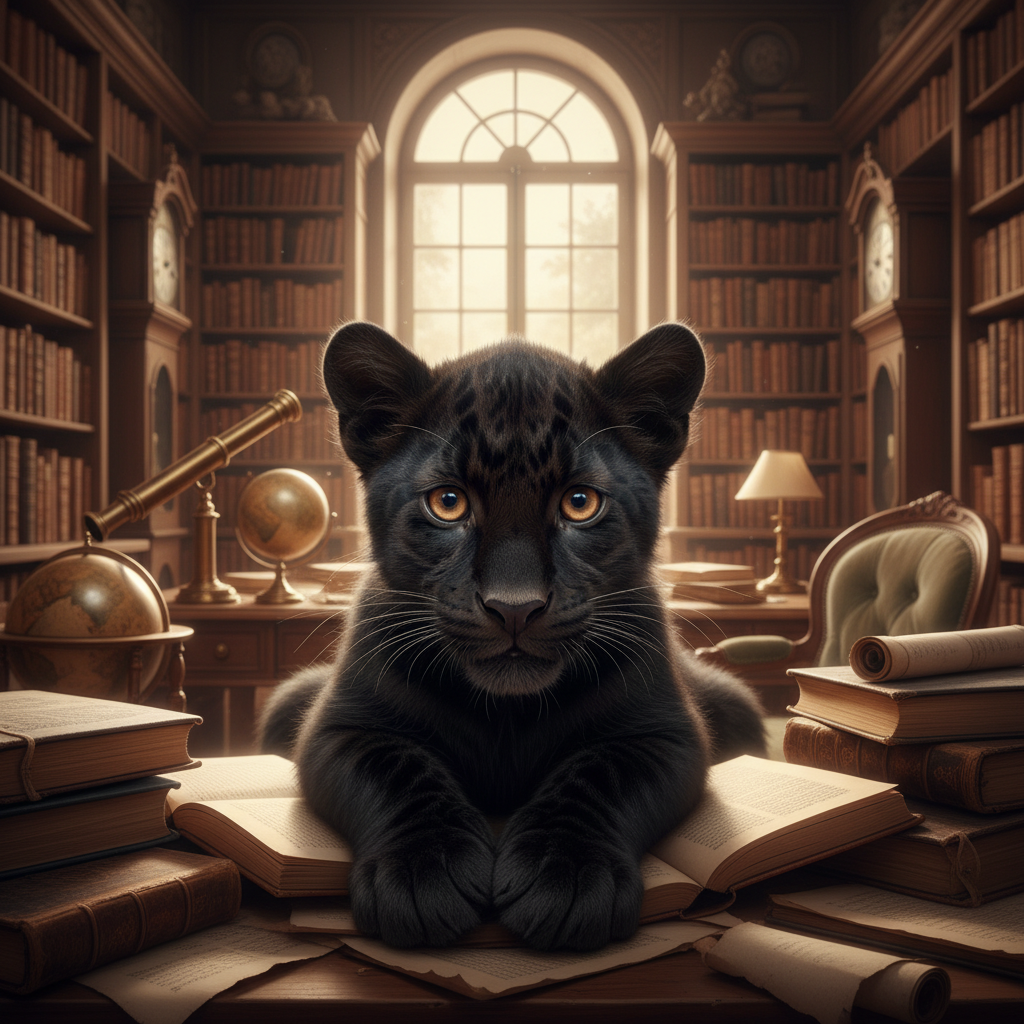
Act as my creative director for a 75-second luxury jewelry film. Break it into a 6-shot storyboard where a panther cub explores an empty Parisian library and discovers a glowing red jewelry box. For each shot, provide the setting, camera move, lighting, and mood. Keep the whole thing warm and intimate.
Hit enter. The agent spits back a complete 6-shot sequence with specific lighting directions. Do not hit “Generate All” yet.
The golden rule of consistency
If you generate the whole sequence at once, the panther cub changes breeds in every shot. The library warps into different shapes. You follow a strict sequence to prevent this.
- Lock the character. Tell the agent to generate just the panther cub. Pick your favorite render. Type “approve” to save it.
- Lock the location. Tell the agent to generate the empty library. Pick the best image.
- Generate the grid. Ask the agent to create the 6-panel storyboard using the locked character and location.
The model needs a visual anchor. When you approve an image, Flow converts those pixels into a rigid token structure. It bolts that structure onto every subsequent frame. The geometry stays locked.
Once you approve the storyboard, the agent switches from Nano Banana 2 to Omni Flash. It renders all 6 shots. You drop them into the timeline at the bottom of your screen. You have a consistent 60-second film.
Step 3: Manual mode & the character library
Sometimes you want manual control. You build a classic Cadbury style commercial using the Characters tab.
Click the Characters tab on the left sidebar. Paste a prompt for a photorealistic 8-year-old child standing on a sunlit doorstep. Flow generates the face. You hit “Save”. You generate an elderly neighbor. You hit “Save” again. Both characters now live permanently in your workspace.
These saved faces act as custom LoRAs. But you do not train them on 50 images. Flow builds the 3D mesh from a single 2D generation. You can also assign a voice to these characters. If they speak in future clips, their vocal pitch remains identical. This is how you build episodic content without continuity errors.
Open the prompt bar to put them in a video. Click “Add Ingredient” and select both characters from your library. Type your action: “The child snaps a piece of chocolate and hands it to the neighbor.” The model binds your saved faces to the generated video motion perfectly. It calculates the muscle movements for chewing and smiling. The shadows match the original lighting from your scene.
You might prefer coding your own AI interfaces over using pre-built buttons. Look into building apps with Antigravity 2.0 and Gemini Flash.
Step 4: Conversational video editing
Older systems like OpenAI Sora force you to start over if a camera pans the wrong way. Flow fixes this with conversational editing. Underneath every clip in your timeline, you see a text input field. You talk to it directly.
- Type:
Reframe this as a slow push-in. - Type:
Change the color temperature to cool blue. - Type:
Make the background lights flash to the beat.
The model updates your existing clip without changing the core subject. It understands context. It uses a process called latent space injection. It freezes the geometry of your main character. Then it only recalculates the pixels associated with the background or the camera array. You save credits because you only render the changes.
You can specify exact focal lengths. You type “switch to a 50mm lens” and the background compresses. You type “switch to an 18mm lens” and the field of view widens. The characters stay identical through the entire adjustment.
Step 5: Building custom tools
The Tools tab on the left sidebar turns Flow into a full operating system. Google includes native tools like Scene Explorer. You type “1980s Taj Mahal” and select 3 camera angles. Hit generate, and you get 3 distinct renders instantly.
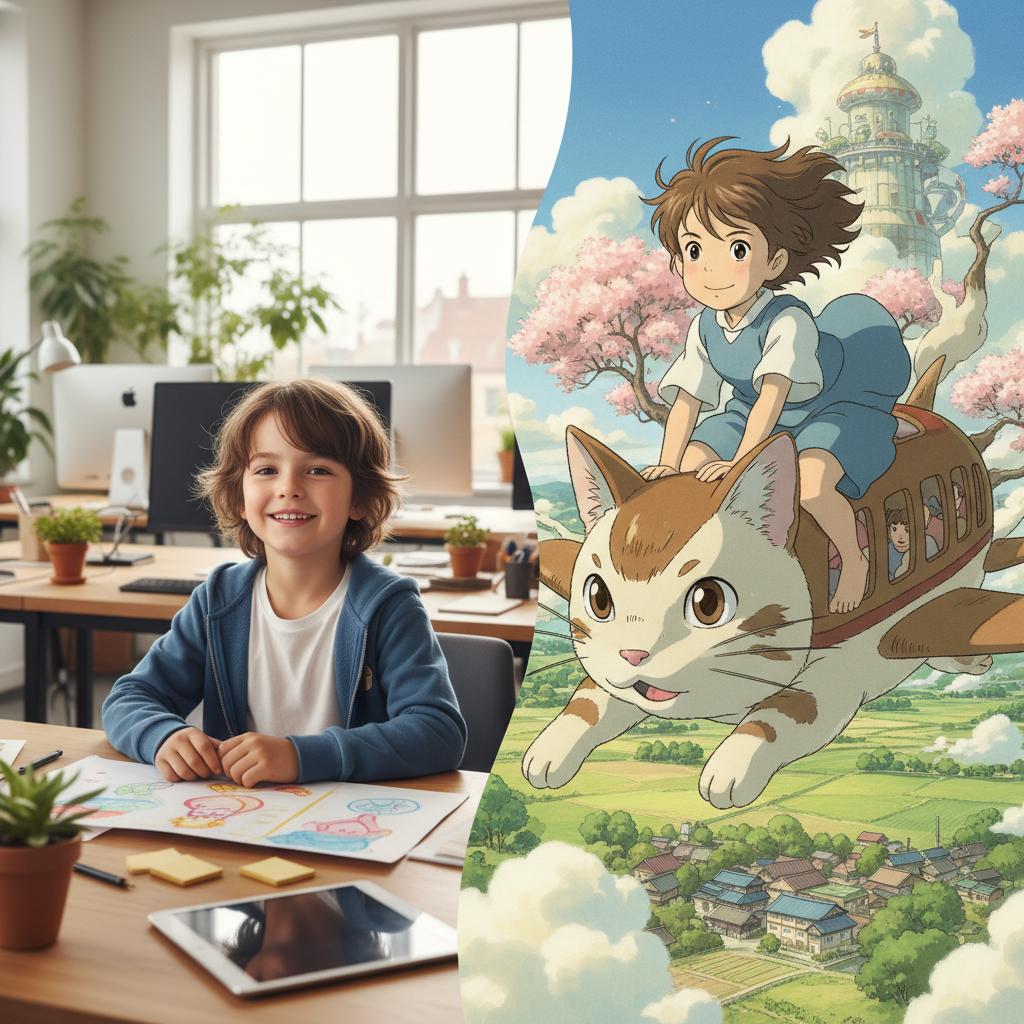
The real power lies in “My Tools”. You create your own buttons. Say you frequently turn photographs into anime styles inspired by Studio Ghibli. You build a “Style Switcher” tool. You save the prompt template and lock it to your sidebar. Now, any time you need an anime render, you click your custom button. You do not type a single word.
You can build complex prompt chains. I built a tool that takes a script, generates 5 distinct character concepts, and outputs a lighting diagram. It bundles 10 steps into 1 click. You write the JSON logic once. Flow executes it perfectly every time.
You need a place to host these files once you render them. Grab a fast, reliable server on Hostinger to get your site live in minutes.
Pro tip: The Claude prompting trick
Google DeepMind published an official instruction manual for Omni. It outlines exactly how the model prefers to receive instructions across 5 blocks. These are framing, style, lighting, location, and action. It states you do not need to describe every brick in a wall. You just type “alien landscape”. Omni fills in the rest.
You can automate this formatting. Copy the URL to the DeepMind guide. Head over to Claude. Paste the link and tell Claude to read it. Then, turn that chat into a Claude Skill. This is a permanently saved instruction set.
You are my Gemini Omni prompt optimizer. Refer to the DeepMind instruction guide. Ask me what video I want to make, then write a perfectly structured Omni prompt using exact cinematic language for framing, lighting, and action.
Now you have an AI assistant writing optimized code for another AI video generator. You feed Claude a rough idea like “car chase in rain”. Claude formats it into Omni syntax. It specifies the shutter speed, the rain density, and the exact camera rig needed to track the car.
Read our guide on the 10 best Claude AI skills to double your productivity to learn more.
Pros and cons of Google Flow AI
Pros
- Character Library keeps faces 100% consistent across scenes.
- Image generation (storyboarding) costs 0 credits.
- Conversational editing lets you tweak clips without starting over.
- Custom tools automate your repetitive design workflows.
- Omni Flash processes 2 million tokens natively, allowing 3-minute continuous renders.
- Exports easily across various aspect ratios, including YouTube Shorts formats.
Cons
- Video generation burns through credits quickly if you skip storyboarding.
- Requires a strict workflow (locking characters first) to prevent visual errors.
- High-motion scenes contain minor visual artifacts in the background.
- Lip syncing struggles with fast-paced dialogue or complex consonant sounds.
- The timeline lacks advanced audio mixing tools.
Google Flow AI takes video generation out of the novelty phase. It puts it into a usable studio environment. You lock your assets, use the timeline, and converse with the Omni model to make fine-tuned edits. You have massive control over your final export.
You can look into how to create unlimited AI videos for free with OpenArt to keep experimenting. But if you want to produce high-end commercial work, open a browser tab. Log into Flow. Build a 30-second clip today.
Frequently asked questions
Is Google Flow AI free to use?
Image generation inside Flow costs 0 credits. Generating actual video clips costs money. Free accounts receive a limited batch. Pro accounts get 1000 credits monthly. A 5-second 1080p clip costs exactly 12 credits. You hit your limit fast if you skip the storyboarding phase.
How do I keep faces consistent in Google Flow?
You use the Characters tab. Generate your character as an image first. Save it to your library. Select that saved character as an “ingredient” when writing your video prompt. The model bolts that exact 3D mesh onto the new video generation.
What is the difference between VEO and Omni?
VEO was Google’s older text-to-video model. Omni is a multimodal system. It accepts text, audio, images, and video as direct inputs. It calculates light and physics across all these inputs simultaneously to craft a scene. It provides far more context and control.

Written by Mangaleswaran
Mangaleswaran is the founder of AIZnap (aiznap.com) and a dedicated AI content creator. With a background in blogging and technology, he has a deep passion for making artificial intelligence accessible to everyone. He specializes in breaking down complex AI tools, tutorials, and updates into simple, practical guides that anyone can follow. Whether you are a complete beginner or someone looking to use AI to build websites, apps, or grow your online presence — Mangaleswaran's content is designed to help you take action with confidence.
View all posts