
Video generation shifted gears in 2026. Google rolled out Gemini Omni. They bolted text-to-video, audio generation, and iterative editing directly into the main chat interface. You type a prompt. You wait 60 seconds. You get a fully rendered scene.
Table of Contents
- ●What you will learn
- ●Step 1: Accessing the Gemini Omni dashboard
- ●Step 2: Crafting the perfect text-to-video prompt
- ●Directing camera movements and angles
- ●Step 3: Iterative editing mechanics
- ●Controlling physics and fluid dynamics
- ●Step 4: Using reference images for style transfer
- ●Step 5: Creating AI avatars and adding dialogue
- ●Generating spatial audio and Foley art
- ●Dialing in export settings and frame rates
- ●Step 6: Managing your video library
- ●Gemini Omni vs. Google Flow
- ●Pros and cons of Gemini Omni
- ●Pros
- ●Cons
- ●Frequently asked questions
- ●Is Gemini Omni completely free to use?
- ●Can I edit my own videos with Omni?
- ●How long can Gemini Omni videos be?
- ●Do I need special equipment to create an avatar?
- ●Start building with Omni
You spot an error. You tell the AI to fix it. The model repaints the specific pixels. You keep your existing scene. I spent the last week testing Omni. I pushed the avatar lip-syncing. I broke the style transfer mechanics. I ran 300 continuous editing loops.
The underlying engine builds on recent research from Google DeepMind. It processes audio and video tokens together natively. The sound matches the visuals perfectly. The footsteps sync with the concrete. The dialogue matches the mouth shapes.
Here is exactly how to use Gemini Omni to generate and edit your own video content.
What you will learn
- How to access the Omni video generation dashboard inside Google Gemini.
- The exact prompt formulas required to generate cinematic AI video.
- How to dictate camera angles and millimeter lenses.
- Methods for editing specific details in a video.
- Steps to apply artistic styles using image references.
- How to scan your face to build a custom lip-syncing 3D AI avatar.
- How to force 4k resolution and 60fps exports.
Step 1: Accessing the Gemini Omni dashboard
You can start using Omni for free right now. Open your browser. Navigate to the main Google Gemini interface. Sign in with your active Google account. You need a standard free account to start. You need a Google One tier subscription to bypass the heavy traffic queues during peak hours.
Look at the left-hand sidebar. Click on the new Videos icon. You will see a “Create with Omni” banner at the top of the page. The layout keeps things simple.
A large 16:9 preview window sits directly above a standard text box. A timeline bar rests at the bottom. This holds your prompt history. You click a thumbnail to jump back in time. This is your primary workspace.
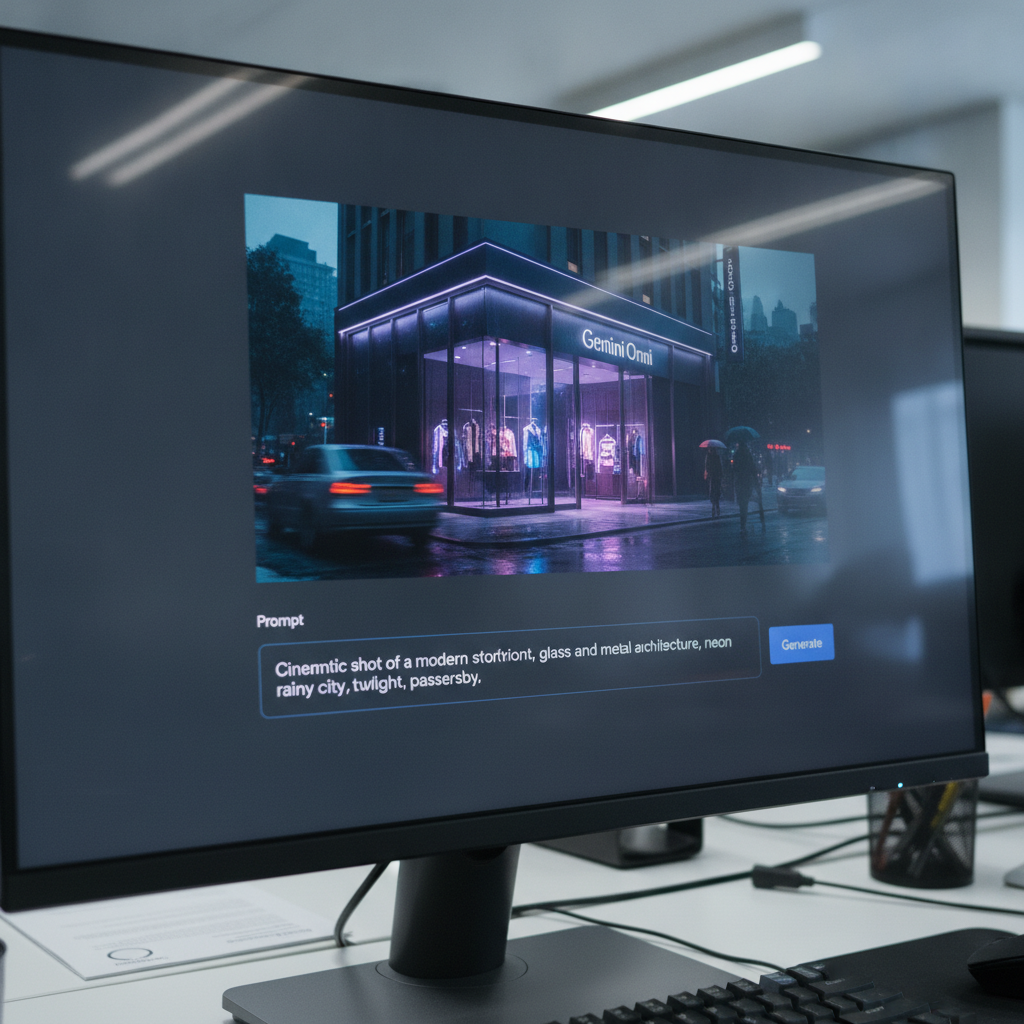
Step 2: Crafting the perfect text-to-video prompt
Writing prompts for video requires a mechanical approach. Static image prompts fail here. You must dictate camera movement. You must define subject action. You must lock in the lighting. Omni defaults to boring wide shots if you omit these variables.
I use a specific formula. I write the camera action. I write the subject description. I write the environment. I write the lighting. I write the technical specs. If you struggle with writing commands, you can click the expand icon in the text box. The core Gemini text model expands your basic idea into a highly descriptive video prompt.
For deep prompt mechanics, read our guide on How to Write AI Prompts for Beginners: A 2026 Step-by-Step Guide.
Cinematic drone shot pushing slowly forward. A highly detailed rustic cookie company storefront on a busy city street. Golden hour sunlight casting long shadows across the brick facade. Pedestrians walk by in the blurred background. 4k resolution, photorealistic.
Below the prompt box, select your aspect ratio. You can choose landscape (16:9) or vertical (9:16). Hit the generate icon. Omni takes 60 to 90 seconds to render the initial video file. Server demand pushes this closer to 3 minutes during the afternoon.
Directing camera movements and angles
You act as the director. You give explicit instructions for the virtual camera. You type “Pan right across the room”. The camera rotates on a fixed tripod. You type “Track right alongside the running dog”. The camera moves physically through the 3D space.
I dictate specific millimeter lenses in my prompts. I type “Shot on 14mm lens”. This forces a wide field of view. It distorts the edges slightly. I type “Shot on 85mm lens”. This flattens the background. It isolates the subject.
You control the exact optical properties of the AI camera. You add “shallow depth of field” to blur the background. You add “deep focus” to keep every pixel sharp. The AI interprets these optical commands accurately.
Step 3: Iterative editing mechanics
Other major video models like OpenAI Sora or Runway Gen-3 Alpha require full prompt rerolls for minor changes. Omni updates specific pixels in the existing frame. It takes an iterative approach.
You generate a sunny afternoon scene. You decide it needs a nighttime setting. You keep the original video loaded in the chat. You simply type a new command into the prompt box: “Change the lighting to a dark nighttime scene with neon streetlights.”
Omni pulls the base seed. It retains the original camera movement. It swaps the skybox. It adjusts the global illumination. You keep your progress. You continue tweaking details like weather, clothing colors, or background elements until the shot looks right.
| Editing command type | Example prompt | Expected result |
|---|---|---|
| Environmental | “Make it rain heavily.” | Adds rain overlay and wet reflections to surfaces. |
| Subject Alteration | “Change the car color to red.” | Modifies specific target item without altering background. |
| Temporal Shift | “Shift the time of day to midnight.” | Adjusts global lighting and skybox elements. |
| Masked Edits | “Turn the selected dog into a cat.” | Replaces the painted mask area with the new object. |
You brush over a specific object to control the edits. You click the mask icon. You paint over a coffee cup on a table. You type “turn this cup into a glass of water”. The engine isolates that area. It rerenders the glass. It leaves the table untouched.
You can upload your own recorded videos. Click the plus icon. Upload an MP4 file from your local drive. Instruct Omni to apply these exact text edits directly to your real-world footage.
Controlling physics and fluid dynamics
Omni understands basic physics. You dictate how objects interact. You tell the AI to drop a glass bottle on concrete. You define the material density in the prompt. You add “heavy glass shattering”. The model breaks the bottle into sharp pieces.
You control the physical laws of the rendered world. You type “Gravity is reversed”. The shattered glass floats up to the ceiling. You type “The concrete floor turns to liquid”. The bottle splashes into the ground. You type the rules. The engine complies.
Step 4: Using reference images for style transfer
Text prompts fail when you need a highly specific art style. Omni accepts direct image uploads to solve this. You generate a flat vector illustration in a tool like Midjourney. You drag that PNG file into the Gemini chat. You tell the AI to build the video using that exact aesthetic.
Click the plus icon below the text box. Select “Upload a file”. Choose your reference image. Write your prompt. Tell the model explicitly to “apply the visual style from this image to the storefront video.”
I tested this with a watercolor portrait. I uploaded a 1024×1024 reference image. I told Omni to “animate this character walking down a rainy Tokyo street”. The AI sampled the brush strokes. It pulled the color palette. It mapped those 2D textures onto a 3D skeleton. The watercolor drips smeared naturally as the character walked.
This process sometimes introduces minor flickering glitches in detailed textures. The overall adherence to the reference image heavily outperforms older models.
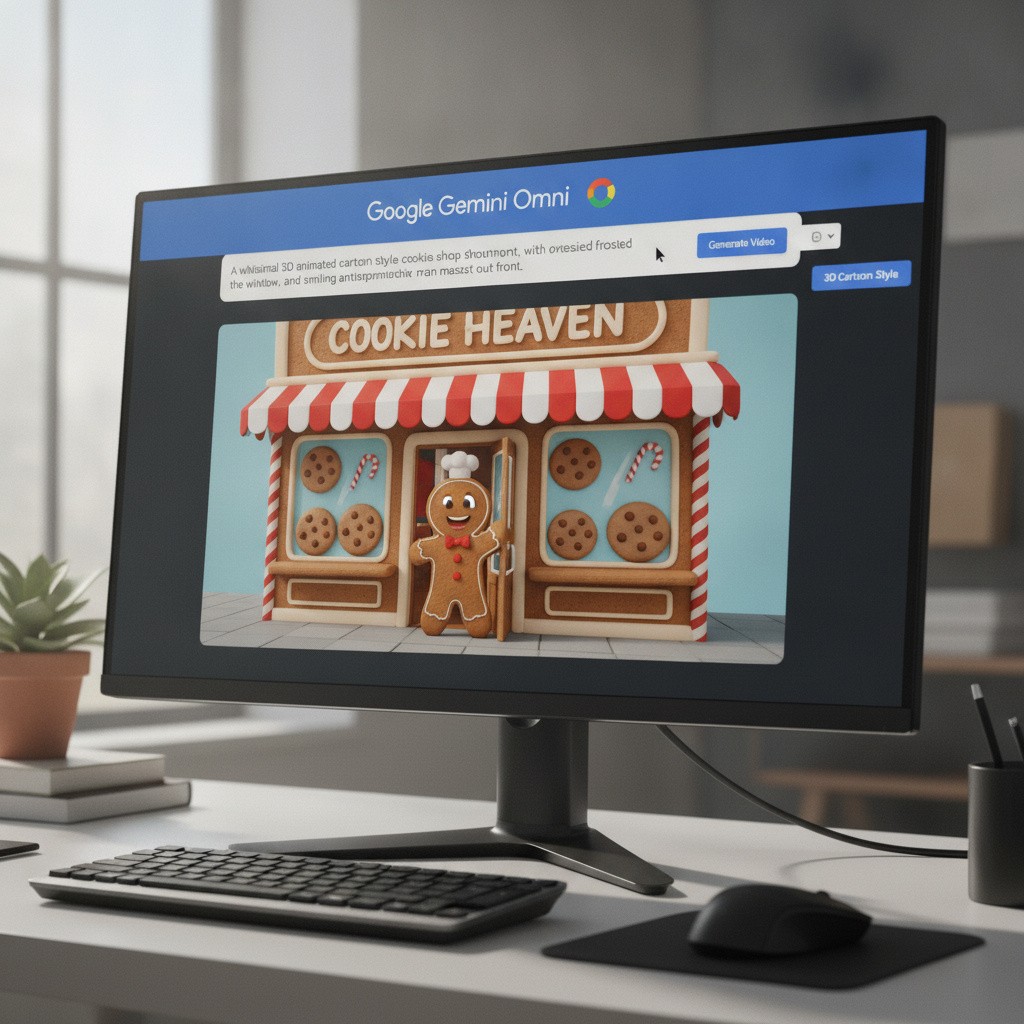
Step 5: Creating AI avatars and adding dialogue
Omni packs a native avatar system. You generate a digital twin. It speaks your typed dialogue with accurate lip movements.
Click the plus icon. Select the “Avatar” option. Click “Try Now”. The screen displays a QR code. You scan this code with your smartphone camera. You read a short sequence of 5 numbers out loud. You slowly rotate your head from side to side.

The camera records your micro-expressions. Google maps a 3D mesh over your facial structure. The system captures the phonetic movements of your mouth. Once the scan finishes, look back at your computer screen. The Gemini interface recognizes your avatar. In the prompt box, you refer to yourself by typing @me.
Write out the scene setup. Include the exact dialogue in quotes. For example: @me standing in front of a modern office building. The avatar says, "Welcome to the Kevin Cookie Company. Come inside and try our freshly baked cookies." Add upbeat acoustic background music.
You control the audio inflection. You add brackets for emotion. You type [@me, angry tone] 'We lost the account.' The audio engine drops the pitch. You skip external audio tools like ElevenLabs entirely. Omni generates the voice natively.
Generating spatial audio and Foley art
Video models usually output silent clips. Omni glues audio directly to the video tokens. You generate a busy diner scene. The AI populates the background with clinking plates. It adds muffled conversations.
The audio maps to 3D space. A waiter walks from the left side of the frame to the right. His footsteps track across your stereo speakers. The sound physically moves.
You dictate specific audio cues. You type “A loud siren blares in the distance”. The engine mixes that siren underneath the ambient diner noise. You get a fully mixed audio track with every video render.
Dialing in export settings and frame rates
You need the right file format. The default chat interface spits out 1080p MP4 files. The frame rate locks at 24fps. This works for a quick phone viewing. It looks terrible on a 32-inch monitor.
You force higher quality directly in the text box. You add --4k --60fps to your final prompt. The server takes 3 minutes to process the request. It renders a heavy, high-bitrate file. You click the download icon. The video holds sharp details during fast motion.
Step 6: Managing your video library
Your generations pile up fast. The Library tab lives on the left sidebar. It acts as your visual database. Every file sits here with its base prompt attached.
You group clips by project. You drag 5 different shots into a folder named “Cookie Promo”. You click on any older video. The interface jumps you directly back into the specific chat session where you created it.
You download the MP4 files to your hard drive. You click the share icon to generate a public link. Google plans to connect these exports directly to YouTube Creator Studio soon, according to the official Google AI blog.
Gemini Omni vs. Google Flow
Omni lives inside the standard Gemini chat interface. It works best for rapid social media clips. It lacks a multi-track timeline.
If you need to edit a 5-minute short film, you need Google Flow. Google Flow offers a professional workspace. Flow uses the same rendering engine. It adds node-based editing. You get precise keyframe controls.
You map camera movements to specific audio waveforms. You adjust the focal length on a curve. You drag and drop external assets onto a 12-track timeline. Flow handles the heavy lifting for short films. Read our full breakdown on How to Use Google Flow AI: Step-by-Step Gemini Omni Tutorial (2026).
To see how Omni stacks up against other generators on the market right now, check out Gemini Omni vs SeaDance 2: Which AI Video Generator Actually Works?. You can also test other tools like Luma Dream Machine and Pika Labs if you need specific motion effects. If you are on a tight budget, read about how to Create unlimited ai videos for free , openart is now 100% free.
Pros and cons of Gemini Omni
Pros
- Iterative editing saves hours of prompting time.
- Native audio and spatial sound effects generate automatically.
- Highly accurate 3D avatar lip-syncing runs via smartphone scanning.
- Clean integration directly within the free Gemini UI.
- Physics engine handles fluid dynamics and shattering glass.
Cons
- Style transfer occasionally causes texture flickering in complex scenes.
- No multi-track timeline control inside the base chat window.
- High server demand often pushes generation times past 3 minutes.
- Requires a Google One subscription for priority render queues.
Frequently asked questions
Is Gemini Omni completely free to use?
Yes. Google offers the base Omni video generation features for free within the standard Gemini interface. Heavy power users hit daily generation limits depending on server traffic. You buy a Google One subscription to lift those limits and access faster render servers.
Can I edit my own videos with Omni?
Yes. You upload existing MP4 files from your local drive. You use text commands to apply visual effects, alter lighting, or change specific subjects in the footage. You mask out a car in your iPhone video and ask Omni to turn it into a tank.
How long can Gemini Omni videos be?
The chat interface generates clips in short bursts. Each prompt outputs 5 to 10 seconds of video. You stitch multiple clips together in an external editor. You use Google Flow if you want to build longer narratives directly in the cloud.
Do I need special equipment to create an avatar?
No. You only need a modern smartphone camera. The system generates a QR code on your computer monitor. This opens a secure scanning app on your phone. You scan your face. The app captures your head movements and voice.
Start building with Omni
Google fixed the biggest problem with AI video. They built an engine that remembers your previous steps. You type a prompt. You iterate on the results. You dial in the specific details.
You skip 5 different subscription tools. Omni generates the character, clones the voice, animates the mouth, and renders the background natively. You get a single file with perfectly synced spatial audio.
Go open Gemini. Click the videos tab. Run your first prompt. Test the iterative editing by changing the time of day in your shot. You will immediately understand how fast this workflow moves.

Written by Mangaleswaran
Mangaleswaran is the founder of AIZnap (aiznap.com) and a dedicated AI content creator. With a background in blogging and technology, he has a deep passion for making artificial intelligence accessible to everyone. He specializes in breaking down complex AI tools, tutorials, and updates into simple, practical guides that anyone can follow. Whether you are a complete beginner or someone looking to use AI to build websites, apps, or grow your online presence — Mangaleswaran's content is designed to help you take action with confidence.
View all posts