

Building a website used to mean fighting layout templates for 6 hours. You dragged text blocks across a screen. You clicked preview. You watched the mobile layout break completely. Now we just ask AI to write the site. But most people fail when they instruct artificial intelligence to build a landing page. They fall into the prompt trap.
Table of Contents
- ●Step 1: install the Claude desktop application
- ●Step 2: generate the base HTML design
- ●Step 3: set up your WordPress environment
- ●Step 4: install the required bridge plugins
- ●Configure Elementor settings
- ●Step 5: connect Claude to WordPress via MCP
- ●Step 6: import and convert the design
- ●Step 7: clean up and polish in Elementor
- ●Why this method beats manual coding
- ●The pros and cons of AI website builders
- ●The advantages
- ●The disadvantages
- ●Final thoughts
- ●Frequently asked questions
- ●Can I use the browser version of Claude for this?
- ●Why does Claude output raw HTML blocks instead of Elementor widgets?
- ●Why do the sections on my new website look squeezed together?
- ●Do I need the paid version of Elementor Pro?
Make the button bigger. Move the section down. Fix the padding. Change the font color. After 40 prompts, the code is garbage. The site looks broken.
You must separate logic from layout. You use Claude AI to generate the heavy structural design, page routing, and copy. Then you import that raw structure directly into WordPress. Inside WordPress, you use a visual page builder to make quick design tweaks. You get the raw speed of a machine generating the heavy logic. You keep the specific visual control of a drag-and-drop editor.
You used to pay agencies $5,000 for a basic 5-page layout. They took 3 weeks to deliver the first draft. They built it on a bloated theme. The site took 8 seconds to load. You requested a simple text change. They billed you $150 for 1 hour of maintenance. Now we bypass the agency entirely. We wire Claude directly into your hosting server. You bypass copy-pasting 50 blocks of HTML. You force the AI to write actual JSON files that WordPress reads natively.
Step 1: install the Claude desktop application
You need the actual desktop client. The browser version operates in a closed sandbox. It cannot communicate directly with external servers or local file systems. The desktop application supports the Model Context Protocol (MCP). MCP allows Claude to securely connect to external tools, read databases, and push files directly to your WordPress installation.
Go to the official Claude Desktop download page. Grab the installer for Mac or Windows. Run the installation package and log into your Anthropic account. You can do this on the free tier. I recommend a Claude Pro account using the Opus model. Opus writes much cleaner HTML formatting. It rarely drops closing div tags during long outputs.
Once installed, you must locate the local configuration folder. On a Mac, you navigate to ~/Library/Application Support/Claude. On Windows, you open %APPDATA%\Claude. This folder stores the configuration files linking the AI to your live server. If you skip this, the AI stays disconnected.
Step 2: generate the base HTML design
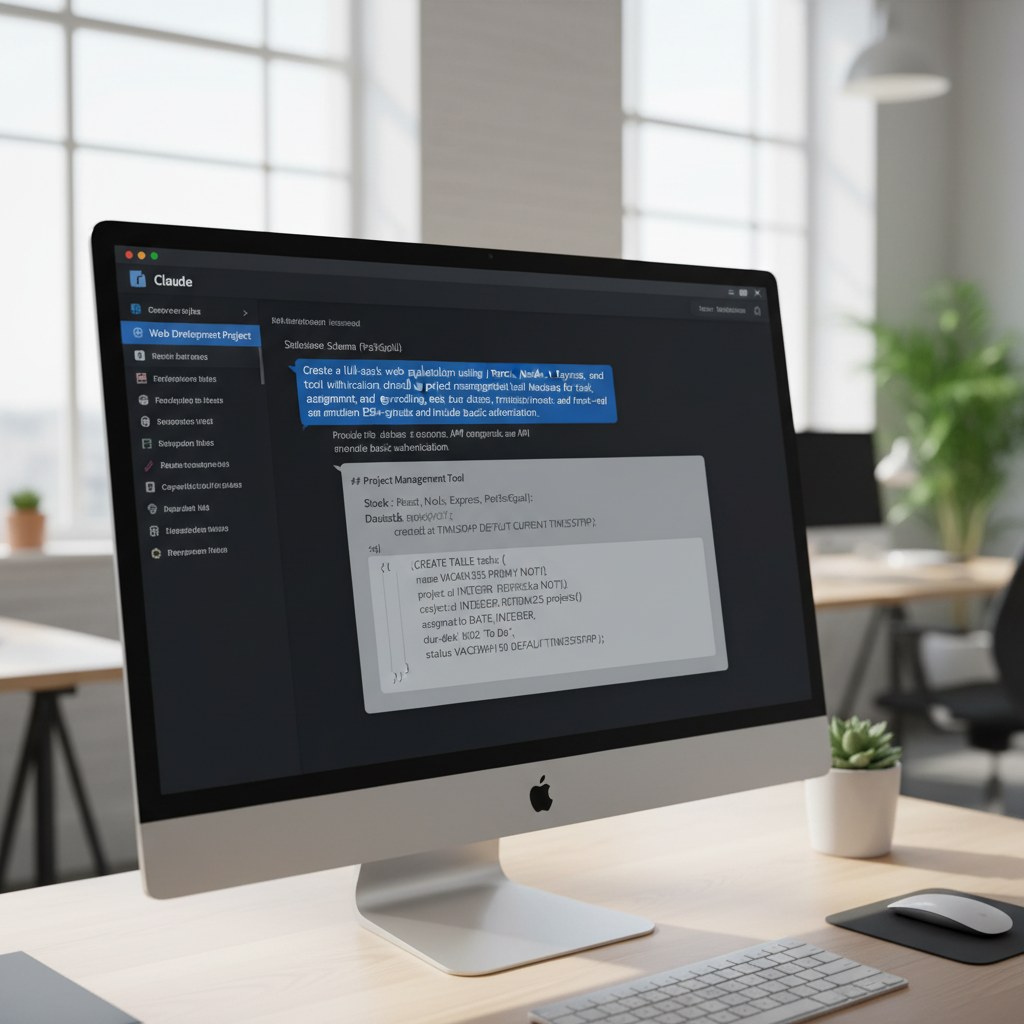
Now we prompt Claude to generate the core code. We want a 5-page site. We need to feed the AI our business name, target audience, and specific SEO keywords. If you omit the keywords, Claude stuffs the pages with generic lorem ipsum text. By providing precise terms, Claude builds the text content organically into the HTML structure. You save 3 hours of manual copywriting.
Open Claude Desktop. Paste the following exact prompt into the chat window. Modify the bracketed text with your own details.
Design a complete 5-page website for my business using HTML. Use a high-contrast layout.
Business Name: [Wilson Estates]
Main Goal: [Get leads, book calls, display property listings]
SEO Keywords: [Real estate services in Las Vegas, Las Vegas realtor, buy homes in Vegas]
Build these pages: Home, About, Services, Listings, Contact.
Use a clean design. Let AI decide the best color palette and fonts. Ensure all links and buttons work logically. Include placeholder images. Make the structure SEO ready.
Hit enter and wait. Claude takes about 4 minutes to write out the full HTML structure. Watch the code blocks appear. If you read our guide on the best Claude prompts for coding web apps, you know the rule. Firm constraints prevent the AI from hallucinating complex backend requirements.
Sometimes Claude pauses mid-generation. The output window just stops. Type “continue” and hit enter. Claude picks up exactly where it left off. Do not copy the code yet. We just need the AI context window loaded with your exact site architecture.
Step 3: set up your WordPress environment
You have the raw code. Now you need a live server to host it. AI generation requires a stable backend to process the files. I recommend Hostinger. They offer NVMe storage. Your AI-generated site will load in under 300 milliseconds. Their control panel makes installing WordPress a 1-click process.
Go to Hostinger and select the Business Plan. This tier allows you to host up to 100 sites. It includes the faster storage drives. Select the 12-month billing cycle. This length gets you a free domain name. Follow the checkout prompts, register your free domain, and complete the payment.
Hostinger launches a setup wizard. Select “Myself or my business.” Choose the “Create a website” option. Set up your WordPress administrator email and a strong password. Claim your custom domain. Hostinger installs WordPress automatically and provisions an SSL certificate in the background. Once finished, click “Go to WordPress” to enter your new dashboard.
Once inside your dashboard, locate the Advanced menu. Click on PHP Configuration. Ensure your server runs PHP 8.2 or higher. Older PHP versions cause the Nova Mirror plugin to throw fatal errors during the AI handshake. You also need to increase the PHP memory limit to 512MB. The AI pushes massive JSON payloads to your server. Low memory limits cause the import to crash at 80%.
Wait 10 minutes before doing anything else. DNS records take a moment to propagate globally. If you try to push API calls too early, the connection times out.

Step 4: install the required bridge plugins
Claude cannot directly edit a raw WordPress installation. It needs specific tools to hook into. We use Elementor as our page builder. Claude reads Elementor’s DOM structure perfectly. We also need a specific bridge plugin to connect the 2 systems. Let’s install the 5 required components.
- Go to Appearance > Themes. Click Add New. Search for Astra. Install and activate it. Astra is a lightweight skeleton theme. It stays out of Elementor’s way.
- Go to Plugins > Add New. Search for Elementor. Install and activate it. Skip the setup wizard entirely.
- Search for WPForms. Install and activate it. Claude routes the contact page through this specific plugin. It creates the form fields and connects the submit button to your admin email automatically. You never touch the form settings.
- Search for XPro Theme Builder for Elementor. Install and activate it. Claude struggles with native WordPress header and footer injection. XPro forces Elementor to handle those top-level areas.
- Download the Nova Mirror plugin zip file. Go to Plugins > Add New > Upload Plugin. Upload the zip and activate it. This is the MCP bridge. It allows Claude to push widgets directly into Elementor.
Configure Elementor settings
By default, Elementor uses older section and column layouts. Claude writes exclusively in CSS Grid and Flexbox. We must change 2 settings. Navigate to Elementor > Settings in your WordPress sidebar.
Find the “Atomic Editor” setting and deactivate it. The Atomic Editor is an experimental feature designed for human developers. It confuses the AI parser. Next, go to the Features tab. Scroll down to “Flexbox Container” and set it to Active. Scroll down to “Grid Container” and set it to Active as well. Scroll to the very bottom and click Save Changes.
If you leave Flexbox disabled, the AI import fails. Elementor throws a critical error and dumps the layout into a single vertical column.
Step 5: connect Claude to WordPress via MCP
This is the technical handshake. We need Claude Desktop to read your live server. In your WordPress dashboard, click the Nova Mirror menu tab. Check the box to turn on “AI Abilities for this site.” Save the settings. Click the button to generate an Application Password. Write this password down.
Scroll down the Nova Mirror page until you see a link that says “Need the JSON configuration?” Click it. Select “Claude Desktop.” A block of code appears on your screen. Copy this entire block to your clipboard. It contains your API keys, the endpoint URLs, and the specific routing instructions for the AI.
Open the Claude Desktop app. Click your profile icon in the bottom corner and select Settings. Click on the Developer tab. You will see a button labeled “Edit Config.” Click it. This opens a file called claude_desktop_config.json on your computer.
Delete absolutely everything inside that file. Paste the code you copied from WordPress. Click File > Save. Do not use “Save As”. You will create a duplicate file that Claude ignores. Close the text editor.
The JSON configuration file acts as the map. It tells Claude exactly where your server lives and what API keys to use. Inside the file, you will notice an object called mcpServers. This specific node contains your WordPress domain and the Application Password. Never share this file with anyone. It provides full administrative access to your website. If you accidentally paste this code into a public forum, you must delete the Application Password in WordPress immediately and generate a new one.
Right-click the Claude app icon and quit the application completely. When you reopen Claude, the MCP connection is active. You have successfully bypassed the complex setups often required when deploying web apps to Hostinger.
Step 6: import and convert the design
Go back to the chat thread where Claude generated your initial HTML design. We instruct the AI to push that design through the MCP bridge into Elementor. Paste this exact command into Claude:
Create a new menu for the pages created for this design. Set the home page. Take the HTML design and convert it for the Elementor page builder for WordPress. Use native Elementor widgets. Do not use HTML blocks. We installed the Nova Mirror plugin to help you understand Elementor widgets.
Use XPro to create the header and footer. Save them in the XPro library. Use WPForms for the contact page.
Target URL: https://yourdomain.com
Claude immediately asks for permission to execute actions on your server. Click “Always Allow.” The AI begins translating its raw HTML into JSON strings. Elementor reads these strings natively. This process takes roughly 10 to 15 minutes. You see Claude actively building pages, assigning menus, and placing widgets.
Do not click away from the Claude window. Sometimes the API drops a packet. If Claude pauses and asks for confirmation on a specific page build, type “proceed” and hit enter. When it finishes, Claude outputs a final checklist. It confirms the homepage assignment, the menu creation, and the successful widget placement.

Step 7: clean up and polish in Elementor
When Claude finishes, open your live website in a new tab. The layout looks 90% complete. However, AI engines occasionally misconfigure flexbox wrapping rules. Some elements bunch together. Other containers push text far down the page. You fix this manually.
Log into WordPress and open the homepage with Elementor. Click on the container holding the bunched-up elements. In the left-hand Elementor panel, look under the Layout tab. Find the “Wrap” setting. Change it from “Wrap” to “No Wrap.” The elements instantly expand and sit perfectly in a row.
Next, fix the blank backgrounds. Claude inserts image placeholders via URLs. You want actual high-resolution photos. Click on your main hero container. Go to the Style tab in Elementor. Upload a professional image from a free directory like Unsplash. Set the display property to “Cover” and the position to “Center Center.”
You might also find weird padding issues on mobile. Switch to Elementor’s mobile view by clicking the responsive mode icon at the bottom. Select your main text columns. Under the Advanced tab, change the padding from 50 pixels to 20 pixels. The text stops touching the edges of the phone screen.
You also need to fix the typography. Claude usually assigns generic font families. You want a cohesive brand look. In Elementor, click the hamburger menu in the top left corner. Select Site Settings. Click on Global Fonts. Change the Primary font to Inter or Roboto. Change the Secondary font to something readable like Open Sans. Update the settings. Every single text block Claude generated instantly updates to your new font choices. You avoid editing 50 separate text widgets.
Finally, check the XPro header. Sometimes Claude builds the header but forgets to hit publish. Go to your WordPress dashboard. Click on XPro Theme Builder. Find the Header template and ensure the status says Published. Set the display conditions to “Entire Website.”
Check your permalinks. Navigate to Settings > Permalinks. Ensure it is set to “Post name”. Claude builds internal links assuming this specific URL structure. If you leave it on the default “Plain” setting, every menu link on your new site returns a 404 error. If you compare this workflow to using standard AI coding assistants, you bypass 6 hours of manual CSS debugging.
Why this method beats manual coding
| Metric | Manual WordPress build | Claude AI + MCP build |
|---|---|---|
| Setup time | 4 to 6 hours | 25 minutes |
| Copywriting | Done by human (slow) | Generated in-line based on keywords |
| Mobile responsiveness | Requires manual breakpoint tweaks | Handled by Elementor Flexbox automatically |
| Code cleanliness | Theme dependent | Clean, native widgets |
The pros and cons of AI website builders
An LLM writes website scaffolding quickly. As we noted in our ChatGPT vs Claude analysis, Claude executes heavy coding tasks better than OpenAI. But this specific WordPress workflow has distinct trade-offs.
You must weigh the costs. Running this setup requires patience during the initial software installation. You trade manual coding time for server configuration time.
The advantages
- Bypasses the endless AI prompting cycle.
- Writes SEO-ready copy natively into the layout.
- Creates a site structure you can easily edit visually.
- Saves $200 on premium theme licenses.
The disadvantages
- Requires desktop installation of Claude.
- Nova Mirror configuration confuses beginners.
- AI occasionally forces HTML blocks instead of widgets.
- Requires manual cleanup of container wraps.
Final thoughts
Coding CSS from scratch takes days. Rigid AI website generators lock your data into their specific ecosystem. Wiring Claude directly into a Hostinger WordPress installation gives you total ownership.
You get the raw speed of a machine generating the heavy logic. You keep the precise visual control of Elementor to sand down the rough edges. Click the link below. Grab your hosting plan. Start forcing Claude to do the heavy lifting for you.
Start Your WordPress Build on Hostinger
Frequently asked questions
Can I use the browser version of Claude for this?
No. The browser version does not support the Model Context Protocol (MCP). You need MCP to push configuration files to your live WordPress server. You must install the Claude Desktop app.
Why does Claude output raw HTML blocks instead of Elementor widgets?
This happens if the AI fails to read Elementor’s structure. You fix this by explicitly telling Claude to “use native Elementor widgets and NOT HTML blocks” in your import prompt. You also must ensure the Nova Mirror plugin is active.
Why do the sections on my new website look squeezed together?
Claude occasionally turns on the “Wrap” setting inside Elementor’s Flexbox Container options. Open the page in Elementor. Click the affected container. Go to the Layout tab and change the setting to “No Wrap.”
Do I need the paid version of Elementor Pro?
No. You bypass the need for Elementor Pro by installing the free XPro Theme Builder plugin. XPro handles the custom header and footer injection. This normally requires a $59 paid Elementor license.

Written by Mangaleswaran
Mangaleswaran is the founder of AIZnap (aiznap.com) and a dedicated AI content creator. With a background in blogging and technology, he has a deep passion for making artificial intelligence accessible to everyone. He specializes in breaking down complex AI tools, tutorials, and updates into simple, practical guides that anyone can follow. Whether you are a complete beginner or someone looking to use AI to build websites, apps, or grow your online presence — Mangaleswaran's content is designed to help you take action with confidence.
View all posts