

You asked an AI to build a website. It gave you perfectly formatted code. You have smooth animations, responsive design, and a modern interface. But that code lives entirely on your hard drive. Local folders stay invisible to the public. You need to put that code on a live domain.
Table of Contents
- ●What you need to start
- ●Step 1: Install your local dependencies
- ●Step 2: Generate the web app with Claude Code
- ●Step 3: Connect the GitHub bridge
- ●Step 4: Deploying to Hostinger
- ●The magic of continuous deployment
- ●Step 5: Bolting on a database
- ●Injecting environment variables
- ●Step 6: Pointing your custom domain
- ●Adding production polish
- ●Tool comparison
- ●The advantages
- ●The drawbacks
- ●Final verdict
- ●Frequently asked questions
- ●Do I need to know JavaScript to deploy this?
- ●Why does Hostinger need my GitHub account?
- ●Is the Supabase database completely free?
Most AI tutorials stop at the fun part. They show you the generated preview window and end the video. I’ll show you how to take a raw Next.js application built by Claude Code and push it to a live production server. We will configure an automated pipeline. Every time you ask Claude to change a button color or fix a typo, your live website updates automatically.
And static pages do nothing for an actual business. We will bolt a free Supabase database onto the backend to collect customer emails. You can finish this entire process in under 15 minutes.
What you need to start
- The Claude Desktop application installed locally.
- A basic understanding of terminal commands.
- A GitHub account to store your code.
- A web host with a native Node.js application installer.
Step 1: Install your local dependencies
You can’t run modern web applications on your computer without the right engines installed. Browsers read basic JavaScript. But your computer’s operating system needs an interpreter to compile frontend frameworks locally.
First, install Node.js. Go to their official site and download the recommended LTS version for your operating system. Click through the installer and leave all default settings checked. This gives you NPM (Node Package Manager). NPM pulls down all the required open-source libraries Claude needs to assemble your site.
Next, install Git. Git tracks every line of code you change. It acts as the shipping container that moves your local project to your live server. Download the installer. Stick with the recommended options during setup. You specifically want the native secure channel and the default terminal settings enabled.
If you have the Claude app open right now, shut it down and restart it. The application needs to register that Node and Git now exist on your machine’s system path.

Step 2: Generate the web app with Claude Code
We are going to build a modern real estate landing page using Next.js. I prefer Next.js because it compiles cleanly and handles API routes natively. Claude understands the Next.js App Router architecture perfectly. Older React setups often confuse AI agents with complex manual routing libraries.
Right-click your desktop and create a new folder named “Real-Estate-App”. Open Claude Code and point it to this exact folder. This isolates your project files.
I want to create a modern real estate website using Next.js. Build a functional landing page with a hero section, a property gallery, and a contact form. Launch the local dev server so I can see the application at localhost:3000.
Claude will ask if you trust this workspace. Confirm it. It will ask for permission to activate Node.js to install dependencies. Approve the request. Claude will spin up the terminal and write the components.
Behind the scenes, Claude creates a page.tsx file for your homepage content. It builds a layout.tsx file to handle your fonts and metadata. It drops Tailwind CSS directly into your global stylesheet. You get a fully modern component structure immediately. No manual webpack configuration required.
Claude will launch a local host URL. Click the http://localhost:3000 link. You will see your fully designed website running locally. If you want to explore prompting this specific tool further, read our guide on how to use Claude Code for free in 2026.
Step 3: Connect the GitHub bridge
Right now, your website exists in an isolated desktop folder. We need to move it to the cloud so a web host can fetch the files. GitHub is the middleman.
Log into GitHub and click “New Repository”. Name it “real-estate-app”. Leave it public or private, then click create. GitHub will show you a page of raw terminal commands. Ignore them entirely. We will have Claude handle the Git commands.
Go back to Claude. Type this exact command: “Initiate a Git repository for this project and commit all current files.”
Claude runs the commit. It bundles your files into a specific version history. Claude automatically generates a .gitignore file to prevent the massive node_modules folder from uploading. GitHub only stores the blueprint. Your live server reads that blueprint and downloads the dependencies independently later.
Grab the remote repository URL from your GitHub page. It looks like https://github.com/yourusername/real-estate-app.git. Tell Claude: “Link this project to my online repo using this remote URL and push the main branch.”
Your browser will pop up asking you to authenticate Git with your GitHub account. Click authorize. Refresh your GitHub repository page. You will see all your Next.js files sitting safely on the internet.
Step 4: Deploying to Hostinger
You have the code and the repository. Now you need a server. I use Hostinger for these AI deployments specifically because they feature a built-in Node.js app installer. Trying to configure a raw VPS via SSH with Nginx reverse proxies and PM2 process managers wastes 4 hours. Hostinger automates the dependency fetching.
This process mirrors deploying a Google AI Studio Web App to Hostinger. Follow this exact workflow:
- Log into your Hostinger dashboard and navigate to the Web Apps section.
- Select “Import Git Repository” and connect your GitHub account.
- Hostinger will display a dropdown of your repositories. Select the “real-estate-app” project.
- Click Deploy.
Hostinger detects the Next.js framework automatically. It runs npm install on its own servers to pull down React and Tailwind. Then it runs npm run build to compile your React components into optimized HTML and CSS. Go grab a coffee. In about 3 minutes, Hostinger generates a live production URL. Your website is officially live.
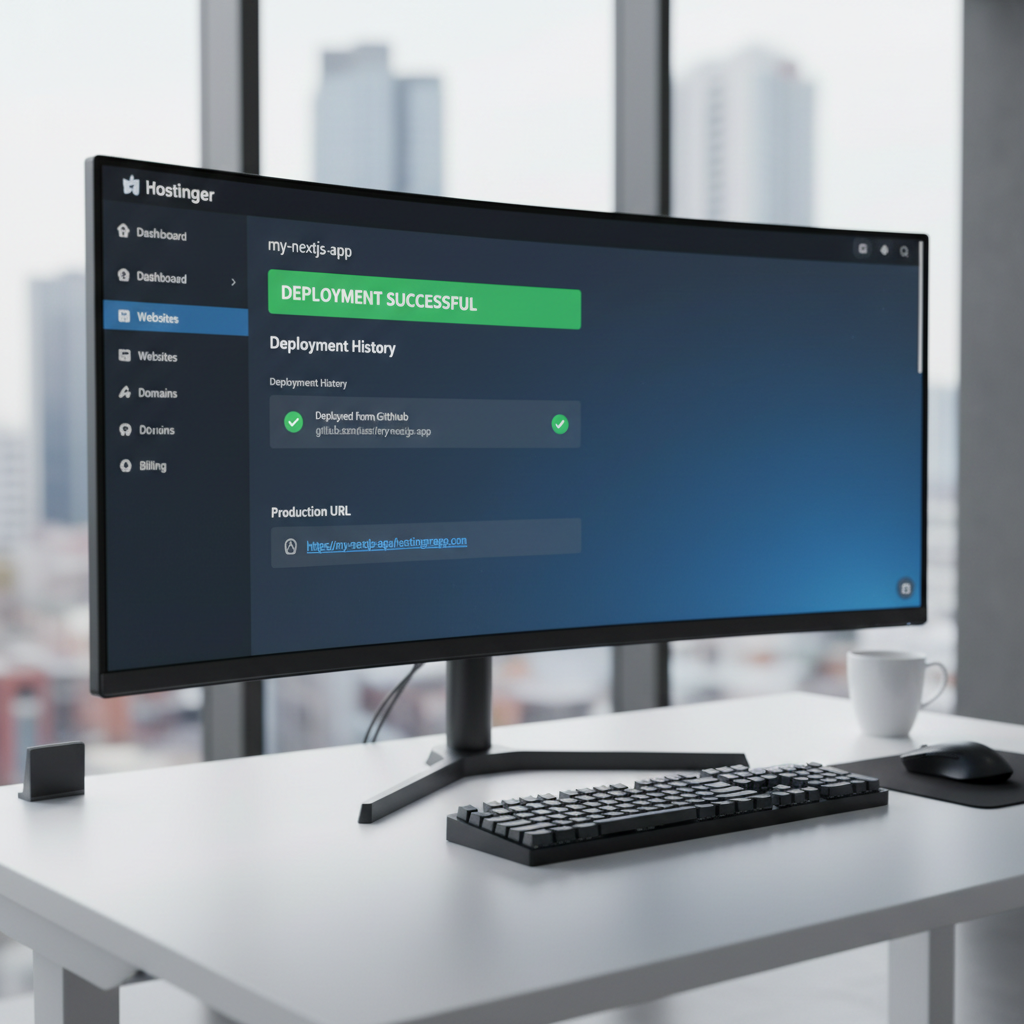
The magic of continuous deployment
Here is why we built this specific pipeline. Open Claude again. Tell it: “Change the primary hero button color from blue to deep yellow. Commit the changes and push to GitHub.”
Claude edits the local code and pushes the update to GitHub. GitHub sends a webhook payload to Hostinger instantly. Hostinger pulls the new main branch, rebuilds your application, and restarts the server process with the yellow button.
You never touch an FTP client. You never open a code editor. You type plain English, and your live website updates. This workflow turns Claude into your personal webmaster. If you want more prompting tactics, check out our guide on the 10 best Claude AI skills to double your productivity.
Step 5: Bolting on a database
Your real estate website looks great. But if a customer fills out the contact form, that data drops into the void. Static frontends can’t store data. You need a backend database. We will use Supabase. It relies on PostgreSQL and gives you a free server tier.
Create a free account on Supabase. Open your dashboard and click “New Project”. Name it “Real Estate Leads” and generate a secure password. Supabase takes about 2 minutes to provision your database server. Wait until the dashboard status reads “Healthy”.
Now we connect Claude directly to the database.
- Open the Claude Desktop app.
- Click on Settings, then navigate to Connectors.
- Click “Browse Connectors” and search for Supabase.
- Click the plus icon to add it. Claude opens your browser and asks for API authorization. Approve it.
With the connector authorized, go back to your workspace chat. Tell Claude: “I connected Supabase. Build a table to store names, emails, and messages from my contact form. Update my Next.js contact form component to push submissions directly to this new Supabase table. Push the final code to GitHub.”
Claude logs into Supabase via the API. It creates the exact SQL schema required. It rewrites your local form code to point to the new endpoint. Then it pushes the update to GitHub, and Hostinger deploys it. You now have a functional full-stack web application. If you want to compare this to other approaches, read our breakdown on how to build a web app with Cursor AI.
Injecting environment variables
Claude writes the code, but it needs the keys to your database. These are environment variables. Never commit these directly to GitHub. Public keys lead to hijacked databases.
Your live server must hold these keys privately. Open your Hostinger web app dashboard. Find the Environment Variables tab. Open your Supabase project settings and find your API keys.
Create a new variable named NEXT_PUBLIC_SUPABASE_URL and paste your project URL. Create another variable named NEXT_PUBLIC_SUPABASE_ANON_KEY and paste your anonymous key. Save the settings. Hostinger rebuilds the application with the injected keys. Your live contact form now communicates securely with Postgres.
Step 6: Pointing your custom domain
Hostinger gives you a temporary preview URL initially. You want a real domain name. Buy one from a registrar like Namecheap or use Hostinger’s native registrar service.
Open your DNS settings panel. You need to change the A Record. The A Record tells web browsers exactly which server IP address holds your application code. Delete the default parked A Records provided by the registrar.
Create a new A Record. Set the host field to @ and paste your exact Hostinger server IP address. Then add a CNAME record. Set the host field to www and point it to your root domain. Save the changes.
DNS propagation takes time. Your website might load on your phone but fail on your laptop. Give it 30 minutes. Once the DNS servers update globally, typing your custom domain loads your Next.js application immediately.
Adding production polish
Once your app is live, you need to handle basic housekeeping. Hostinger provides these tools in the dashboard.
First, activate your Content Delivery Network (CDN). Navigate to the performance tab in your hosting panel and click “Enable CDN”. This caches your compiled Next.js assets on servers around the world. It drops load times heavily for users located far away from your primary database.
Next, set up a business email. Sending client replies from a generic Gmail account looks amateurish. Click on “Setup Email” in your Hostinger dashboard. Create an address like hello@yourdomain.com. You can manage your inbox directly through their webmail interface or link the SMTP settings to your phone.
Tool comparison
| Platform | Best Use Case | Setup Difficulty |
|---|---|---|
| Hostinger | Automated Git deployments for Node.js apps with built-in emails. | Low |
| Vercel | Native Next.js hosting. Good for edge functions and serverless architecture. | Medium |
| Supabase | Open-source Postgres database alternative to Firebase. Native Claude connector available. | Low |
The advantages
- Instant live updates without touching code files manually.
- Zero manual server configuration or Nginx proxies needed.
- Claude handles the exact database schema generation.
- Free SSL certificates and basic CDN caching included.
The drawbacks
- Requires a fundamental understanding of Git command flow.
- Node.js applications consume more server RAM than simple HTML files.
- Supabase free tier pauses your database after exactly 7 days of inactivity.
Final verdict
Generating a website layout with AI takes 30 seconds. Building a functional pipeline that lets an AI manage your live server requires focused setup. By connecting Claude to GitHub, Hostinger, and Supabase, you remove the friction of manual deployment.
You get a real application that captures actual user data. Get your dependencies installed, link your accounts, and push your code. The entire process takes under 15 minutes.
Deploy Your Web App on Hostinger
Frequently asked questions
Do I need to know JavaScript to deploy this?
No. Claude handles the JavaScript and Next.js syntax entirely. You only need to know how to install Node.js and run basic Git commands in your terminal.
Why does Hostinger need my GitHub account?
Hostinger needs a secure way to pull your application files. GitHub acts as the storage locker. When you connect Hostinger to GitHub, it sets up a webhook. Hostinger automatically fetches the newest version of your app every time you save a change.
Is the Supabase database completely free?
Yes. Supabase offers a generous free tier for developers. But if your database receives zero queries for 7 consecutive days, Supabase pauses the project to save server space. You can easily unpause it directly from your dashboard.

Written by Mangaleswaran
Mangaleswaran is the founder of AIZnap (aiznap.com) and a dedicated AI content creator. With a background in blogging and technology, he has a deep passion for making artificial intelligence accessible to everyone. He specializes in breaking down complex AI tools, tutorials, and updates into simple, practical guides that anyone can follow. Whether you are a complete beginner or someone looking to use AI to build websites, apps, or grow your online presence — Mangaleswaran's content is designed to help you take action with confidence.
View all posts