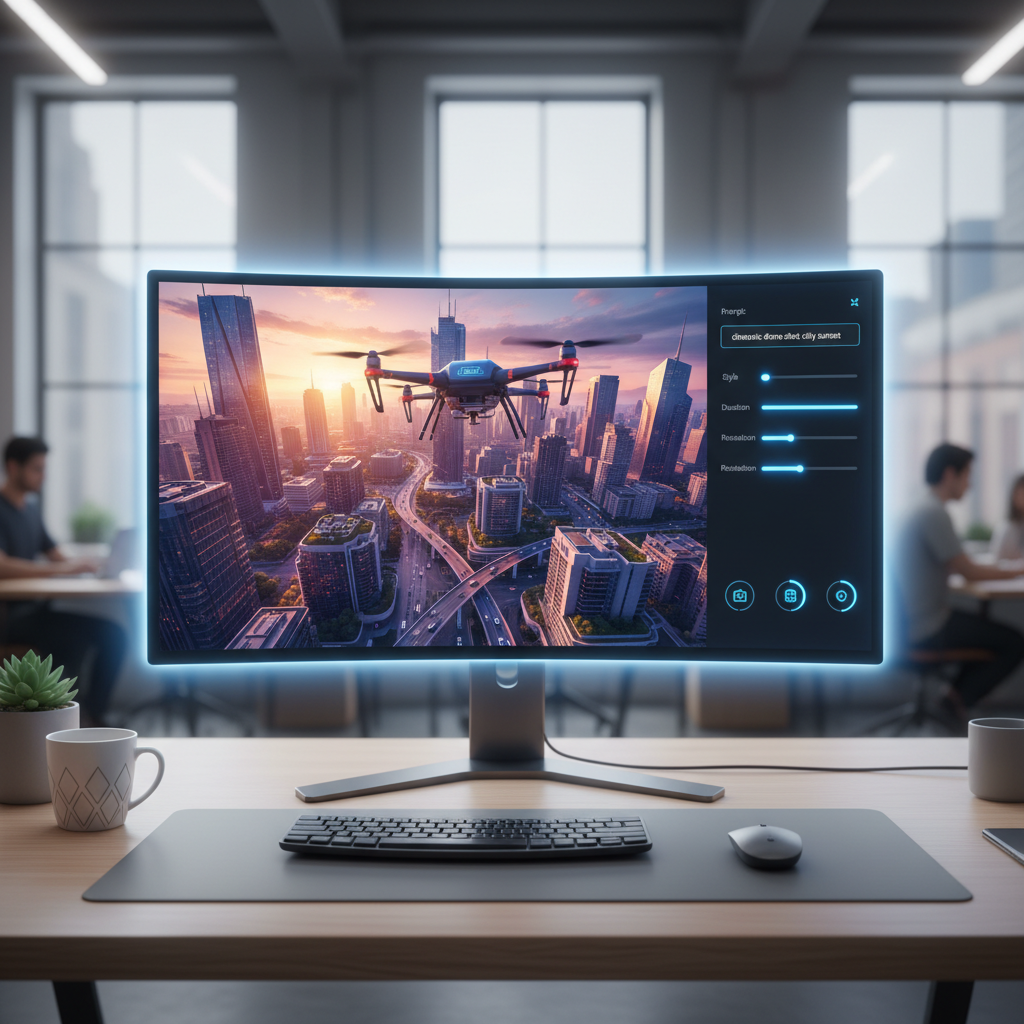
AI video generation drains bank accounts. You click a button and wait 3 minutes. Then you watch prepaid credits vanish into a blurry 5-second clip.
Table of Contents
- ●The end of credit anxiety
- ●Step 1: start with a flawless base image
- ●Step 2: load the OpenArt workspace
- ●Step 3: master the motion sliders
- ●Step 4: batch generation and curation
- ●Step 5: fix artifacts and upscale
- ●The audio problem
- ●Host your video portfolio
- ●Pros and cons
- ●The Good
- ●The Bad
- ●Frequently asked questions
- ●Is OpenArt really 100% free for video generation?
- ●Can I use these videos commercially?
- ●Why do my AI videos look blurry?
- ●What is the best aspect ratio for AI video?
- ●How do I fix extra limbs appearing in my render?
- ●Start your first generation project
Cloud providers charge $2 an hour for a single Nvidia A100 GPU. You are forced to choose between running heavy models on a hot local machine or paying monthly subscriptions to corporate tools. That equation changes today.
OpenArt is 100% free. They dropped their credit walls. You can render clips all day without hitting a paywall or watching your wallet empty out.
This post breaks down exactly how to use this unlimited access. I will show you how to structure your prompts, lock in consistent character motion, and build a production-ready video workflow without spending a single dollar.
The end of credit anxiety
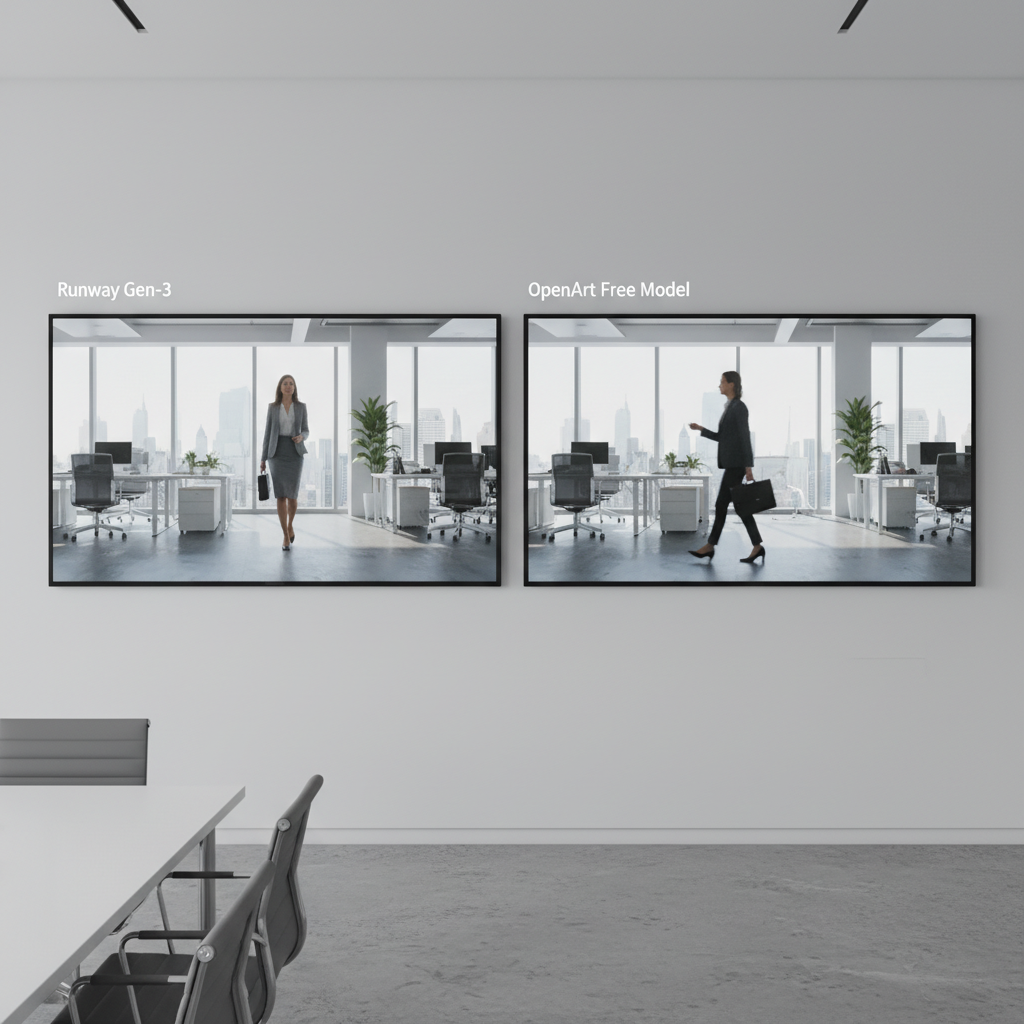
Most AI video tools operate like arcade machines. You insert a digital quarter every time you press generate. Runway Gen-3 gives you high fidelity. But a single 10-second render costs actual money. Luma Dream Machine grants a tight allowance of 30 free generations a month. Once you burn through them testing bad prompts, your account locks.
OpenArt aggregates open-source video models. They handle the cloud compute on their end. You join a queue. You wait your turn. You get your video.
They removed the billing dashboard. You feel zero anxiety when a prompt fails.
Unlimited generations change your entire strategy. You stop trying to write the perfect prompt on the first try. Instead, you brute-force the slot machine.
You generate 10 variations of the exact same scene. You pick the single clip where the physics hold together. I discovered this exact process when analyzing the Gemini Omni vs SeaDance 2 performance gap earlier this year.
AI video models do not understand real-world gravity. They guess pixels frame by frame based on mathematical noise. A random seed value dictates whether a car drives straight or folds in half. Pumping 50 variations through the free engine guarantees 1 perfect render. You just delete the garbage.
Step 1: start with a flawless base image
Text-to-video fractures instantly. Type “a man walking down the street” into an empty prompt box. The AI has to invent the lighting, the camera angle, the man’s face, and the background architecture all at once. The results usually look like a melted candle.
You fix this by using Image-to-Video. You give the AI a perfect starting frame. You ask it to animate it. This bolts down 90% of the visual variables before the video engine even spins up.
- Generate your base images using a high-quality still generator. Midjourney produces cinematic shots.
- If you want to keep the entire workflow free, use the open-source image models available on Civitai or OpenArt’s own free image generator.
- Ensure your base image is in a 16:9 aspect ratio if you make YouTube content. Use 9:16 for TikTok or Reels.
Hardcode your lighting and lens specs into the initial image prompt. Do not ask for “a cool photo”. Ask for “35mm lens, Kodak Portra 400 film stock, volumetric lighting, shallow depth of field”. Detail forces the AI to output realism.
Keep your Midjourney chaos settings low. Append --c 5 or --c 10 to your prompts. High chaos generates weird structural anomalies. A 6-fingered hand in your base image turns into a flapping tentacle in the final video.
Save the crisp, highly detailed base image to your desktop. If you are totally new to this process, brush up on how to use AI for everyday tasks first to understand basic prompt structures.
Step 2: load the OpenArt workspace
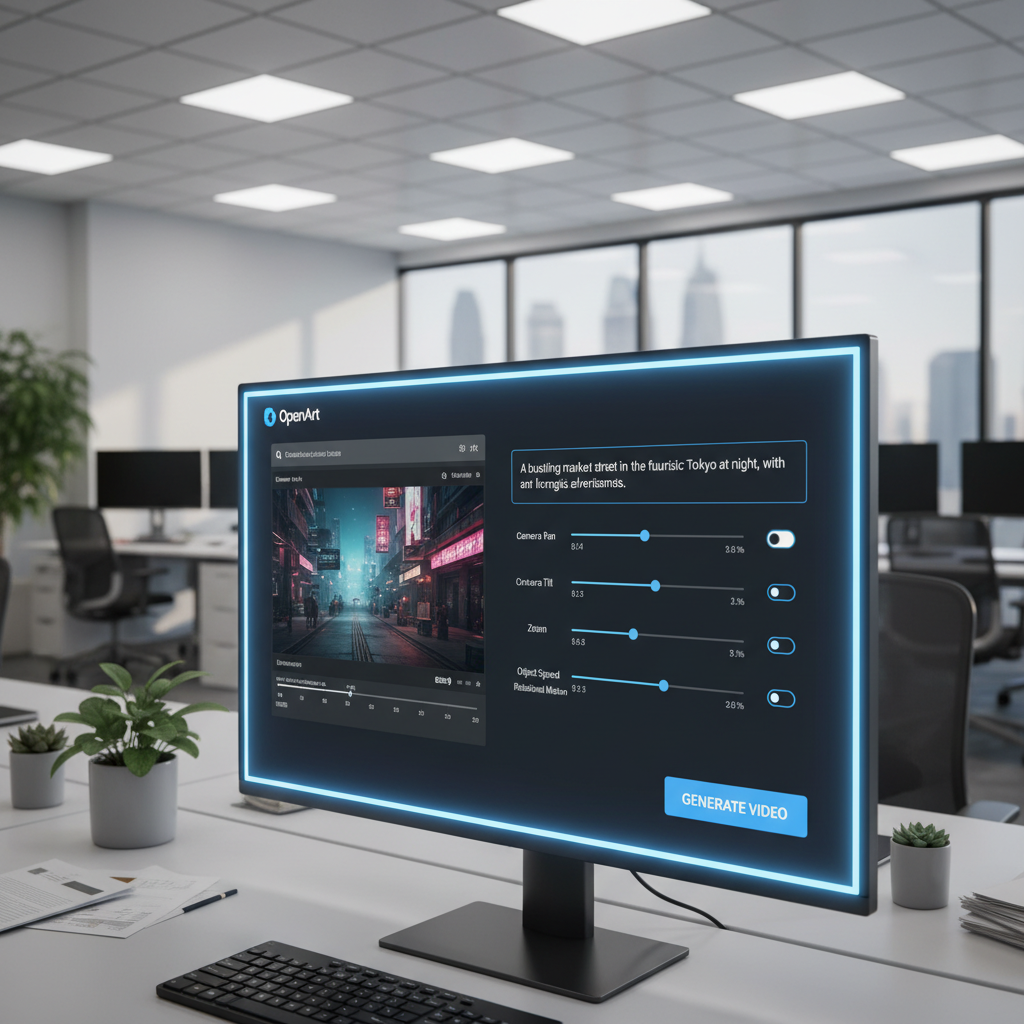
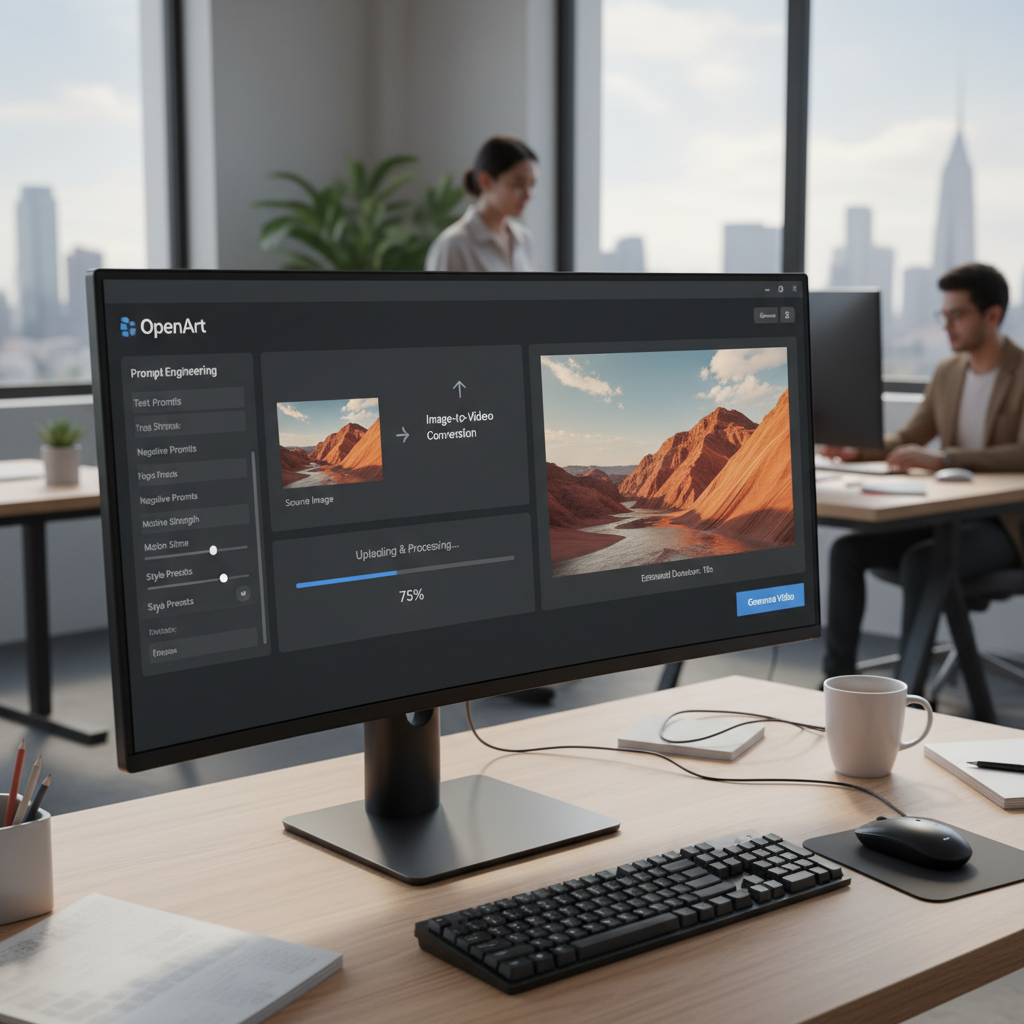
Head over to OpenArt. Sign up for a free account. Navigate to the video generation tab.
Upload the base image you just created. You will see an empty text box below it. Beginners make a fatal error here. They describe the image again. Do not do that. The AI already sees the image. Typing “a red car” when the image already shows a red car confuses the model. It attempts to generate a second red car on top of the first one.
Your text prompt must only describe the physical motion.
[Camera Movement]. [Subject Action]. [Environmental Dynamics].
Example 1: Slow drone push forward. The man turns his head to the left. Dust particles float in the sunlight.
Example 2: Static tripod shot. The coffee cup steams. Rain hits the glass window.
Example 3: Fast pan right. The sports car drifts around the corner. Tire smoke fills the frame.
Video models fail at compound sentences. Keep your instructions short. Use periods to separate every distinct action. Strip out unnecessary adjectives. If the action does not physically move pixels, delete the word.
Fill out the negative prompt box. This tells the AI what to ban from the render. Type mutated, text, watermark, extra fingers, distorted face, backward walking, morphing. This filters out the most common hallucinations.
Step 3: master the motion sliders
Under the prompt box, you will find settings for motion strength. This controls how aggressively the AI alters the pixels between frames.
A low motion setting near 20% yields a subtle, realistic result. The camera might pan slightly. Water ripples in the background. The subject remains largely stable. Use this for establishing shots. Use this when the character’s face must match the base image exactly.
A high motion setting near 80% forces the AI to invent new pixels rapidly. Characters start walking. They jump. They spin around.
High motion causes extra limbs to appear. Faces distort. Because OpenArt costs you exactly $0, you can abuse this mechanic. Push the slider to 80% and hit generate. If the character morphs into a monster, roll it again. You lose nothing but 1 minute of time.
Test intermediate settings to find the sweet spot. A 40% motion value works best for gentle walking. A 60% value handles heavy environmental changes like a building collapsing. Map the slider directly to the physical intensity of your written prompt.
Step 4: batch generation and curation
Do not generate 1 video and sit there waiting. Open 5 browser tabs. Submit multiple variations of your prompt simultaneously.
Change the camera instruction from “pan left” to “tilt up”. Change the motion slider from 40% to 60%. Adjust the random seed number. Build a grid of 10 options for a single scene.
This batching method mirrors the workflows used in major enterprise production pipelines. Standardizing high-volume AI workflows is a major reason I documented why I moved 250 employees to OpenAI Codeex. Volume solves inconsistency.
Review your batch of videos. Look strictly for temporal consistency. Does the shirt color change from red to blue halfway through? Delete it. Does the background horizon line warp? Delete it. Does the subject walk backward while facing forward? Delete it.
You only need 1 clean render per scene. Download the single winner. Move to the next shot in your storyboard.
| Platform | Cost per Second | Generation Limit | Best Use Case |
|---|---|---|---|
| Runway Gen-3 | ~$0.20 | Pay per credit | Commercial TV spots |
| Kling AI | ~$0.15 | Subscription | Complex character acting |
| Luma Dream Machine | Free (capped) | 30 per month | High-end social clips |
| Hailuo MiniMax | Free (capped) | Daily limit | Photorealistic humans |
| OpenArt Video | $0.00 | Unlimited | Heavy experimentation |
Step 5: fix artifacts and upscale
Free AI videos rarely output at 4K resolution. The raw download from OpenArt lands at 720p or 1080p. You will notice a slight blur. You will see a flicker in finer details like grass or hair.
Drop your downloaded video into a free editing tool like CapCut. Apply a slight sharpening filter. Set the sharpen value to +15. Add a subtle film grain. Grain masks the weird plastic texture AI video models often apply to human skin.
If you want to push the quality further, run the clip through an AI upscaler. Topaz Video AI is the desktop standard. Krea works well in the browser.
Set your upscaler to Artemis or Proteus modes. These models clean up digital compression noise. They interpolate the frames. A choppy 24fps video becomes a buttery smooth 60fps render. Upscaling takes heavy local compute. If your laptop sounds like a jet engine during this step, rely on cloud upscalers instead.
The audio problem
A beautiful drone shot feels empty without the sound of wind. OpenArt gives you the visuals. You have to build the soundscape yourself. Dead silence immediately exposes a video as AI-generated.
Use ElevenLabs for cinematic voiceovers. They offer a generous free tier. Type your script. Select a deep, raspy voice profile for narrations. Lock the stability slider at 30% and similarity at 75% for maximum realism.
Build your audio track in layers. Start with ambient room tone. Add specific foley sounds for physical movements. If a character steps on gravel, find a footstep sound effect. Use the free YouTube Audio Library. You can also generate specific foley sounds using AI audio models.
Lower the ambient volume by -15db when your character speaks. This technique is called audio ducking. It ensures the voiceover punches through the mix clearly.
If your character speaks on camera, you face a lip-syncing issue. Standard generation models do not map mouth movements to audio tracks. Use a tool like Pika Labs. Upload your rendered video and your ElevenLabs audio file. Pika maps the mouth to the audio waveform automatically.
Host your video portfolio
Once you generate a folder full of 4K clips, you need a place to display them. Relying on Instagram or X crushes your video quality. Their algorithms compress massive files into pixelated messes. The maximum bitrate on Twitter tops out at just 5 Mbps.
Build a dedicated portfolio website. I highly recommend Hostinger. It is incredibly cheap. It is fast. It handles heavy video files smoothly if you embed them correctly.
Never upload a 500MB MP4 file directly to your web host. Upload your finished clips to Vimeo or an unlisted YouTube channel. Embed the iframe code directly onto your Hostinger landing page.
You can even generate the HTML and CSS for your site using AI. Read my guide on how to deploy a Google AI Studio web app to Hostinger to get a professional site live in under 1 hour.
Pros and cons
Free access comes with trade-offs. OpenArt is an incredible tool. But it is not flawless. Here is a realistic look at what you get.
The Good
- Literally $0 cost for rendering.
- No daily or monthly credit limits.
- Excellent image-to-video character retention.
- Clean, distraction-free interface.
- Aggregates multiple open-source models into 1 hub.
The Bad
- Queue times spike during peak server hours.
- Struggles with complex human hands and fast running motion.
- Maximum video length limits your clip duration.
- Lacks built-in lip syncing for character dialogue.
- Raw resolution requires third-party upscaling.
Frequently asked questions
Is OpenArt really 100% free for video generation?
Yes. OpenArt allows users to generate videos without paying for a subscription or buying credit packs. You trade money for time. You may have to wait in a server queue during high-traffic periods.
Can I use these videos commercially?
Outputs from open-weight models generally allow for commercial use. You must own the rights to the base image you upload. If you generate a base image using a paid Midjourney tier, you can use the resulting video for clients or YouTube monetization.
Why do my AI videos look blurry?
Blurring happens when the motion setting is too high. The AI cannot generate new pixels fast enough to keep up with the physics. Lower your motion slider to 30%. Use simpler camera movements like “slow pan right”. Upscale the final render in Topaz Video AI.
What is the best aspect ratio for AI video?
Your base image dictates the video aspect ratio. Set your Midjourney prompt to --ar 16:9 for standard YouTube videos and cinematic shorts. Set it to --ar 9:16 for TikTok, Reels, or YouTube Shorts. Vertical video requires different panning logic. Avoid rapid horizontal camera pans in a 9:16 frame.
How do I fix extra limbs appearing in my render?
Lock your random seed value. Drop your motion slider to 25%. Ensure your base image has perfect anatomy before you upload it. If the base image features a hand partially hidden by a jacket, the AI gets confused and extrudes a second arm.
Start your first generation project
The barrier to entry for video generation is gone. You no longer need a massive studio budget to create b-roll. You can render cinematic trailers and social media clips for $0.
OpenArt gives you a primary sandbox. Stop worrying about wasting paid credits. Open 5 tabs right now. Upload a base image. Push the motion slider and render your first batch. Upscale the clean clips and piece the final sequence together in post-production.
Start Generating Free Videos on OpenArt

Written by Mangaleswaran
Mangaleswaran is the founder of AIZnap (aiznap.com) and a dedicated AI content creator. With a background in blogging and technology, he has a deep passion for making artificial intelligence accessible to everyone. He specializes in breaking down complex AI tools, tutorials, and updates into simple, practical guides that anyone can follow. Whether you are a complete beginner or someone looking to use AI to build websites, apps, or grow your online presence — Mangaleswaran's content is designed to help you take action with confidence.
View all posts