

You just typed a prompt into Google AI Studio. Moments later, a functional website sits right there in your browser. But then you hit a wall.
Table of Contents
- ●Why we use Cloudflare over other hosts
- ●Step 1: Generate your website in Google AI Studio
- ●Step 2: Sync the project with GitHub
- ●Step 3: Deploy live on Cloudflare
- ●Step 4: Configure environment variables for API keys
- ●Fixing the blank white page error
- ●Step 5: Attach a custom domain name
- ●Cloudflare Pages vs Workers for AI apps
- ●The pros and cons of this deployment stack
- ●Pros
- ●Cons
- ●Frequently asked questions
- ●Do I need to pay for Cloudflare to deploy my site?
- ●Will I lose my website if I accidentally delete my AI Studio session?
- ●Why does my site look completely broken on a mobile phone?
- ●Final thoughts
How do you actually get this thing on the internet?
Getting an AI website live without paying $20 a month for hosting trips people up. I wired up a fast, free pipeline to bypass this bottleneck last week. You push your code directly to GitHub, then deploy it using Cloudflare without any server configuration.
Follow these exact steps to deploy your Google AI Studio website.
Why we use Cloudflare over other hosts
I prefer Cloudflare over Vercel or Netlify because it bolts together Pages and Workers infrastructure. Your simple HTML website upgrades easily into an AI agent running backend APIs later without migrating hosts. Plus, Cloudflare handles DNS routing natively and offers 100,000 free requests per month.
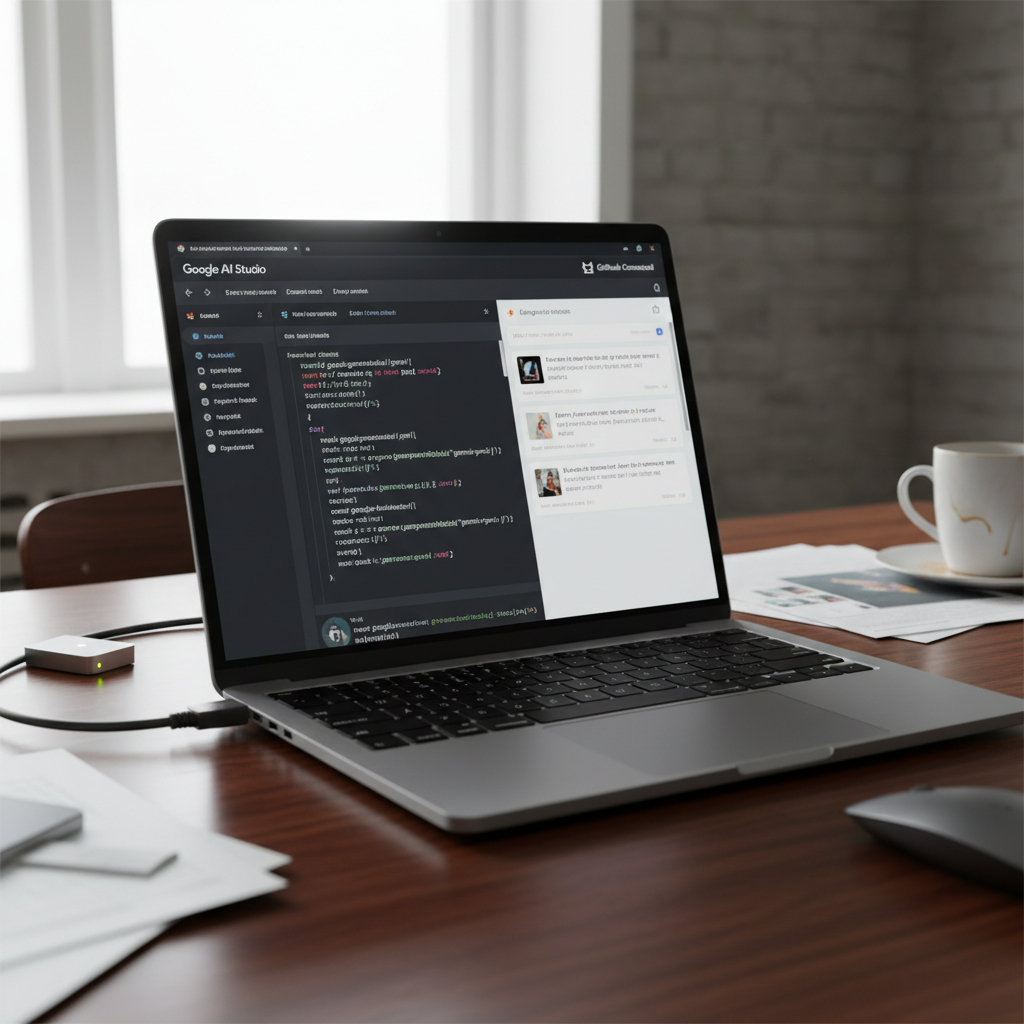
Step 1: Generate your website in Google AI Studio
Open Google AI Studio and navigate to the build tab. This area lets you prompt full applications using natural language. Let’s build a dark mode bakery website.
"Build a modern bakery website called Cakebook. Include sections for exploring bakery recipes and ordering custom cakes. Use a dark mode design with glass morphism UI, elegant typography, and smooth scrolling animations."
Google AI Studio generates the code and shows a live preview. Once you have a layout you like, stop tweaking. We need to pull the code out of the browser and drop it into a real repository to host it.
Step 2: Sync the project with GitHub
Google AI Studio features direct GitHub integration. You skip downloading zip files, installing Git, or running local terminals.
- Click the settings gear or the Export button in the top right corner.
- Select the GitHub sync option.
- Connect your GitHub account using the same email address as your Google account to avoid permission errors.
- Name your repository something short, like
cakebook-bakery. - Click push.
Your code now lives in a version-controlled repository. You have a backup stored safely online. If you want to run advanced applications locally before pushing them live, read my guide on How to Deploy Vibe Coded Apps (Cursor, Claude) for Free Using Dokploy.
Step 3: Deploy live on Cloudflare
Create a free account on Cloudflare. It pulls the code directly from your GitHub repository and hosts your new website.
Navigate to Workers and Pages in the left sidebar and click Create Application. Select the Pages tab, choose Connect to Git, and grant Cloudflare permission to view your repositories. Select your cakebook-bakery repository and click continue to open the build settings.
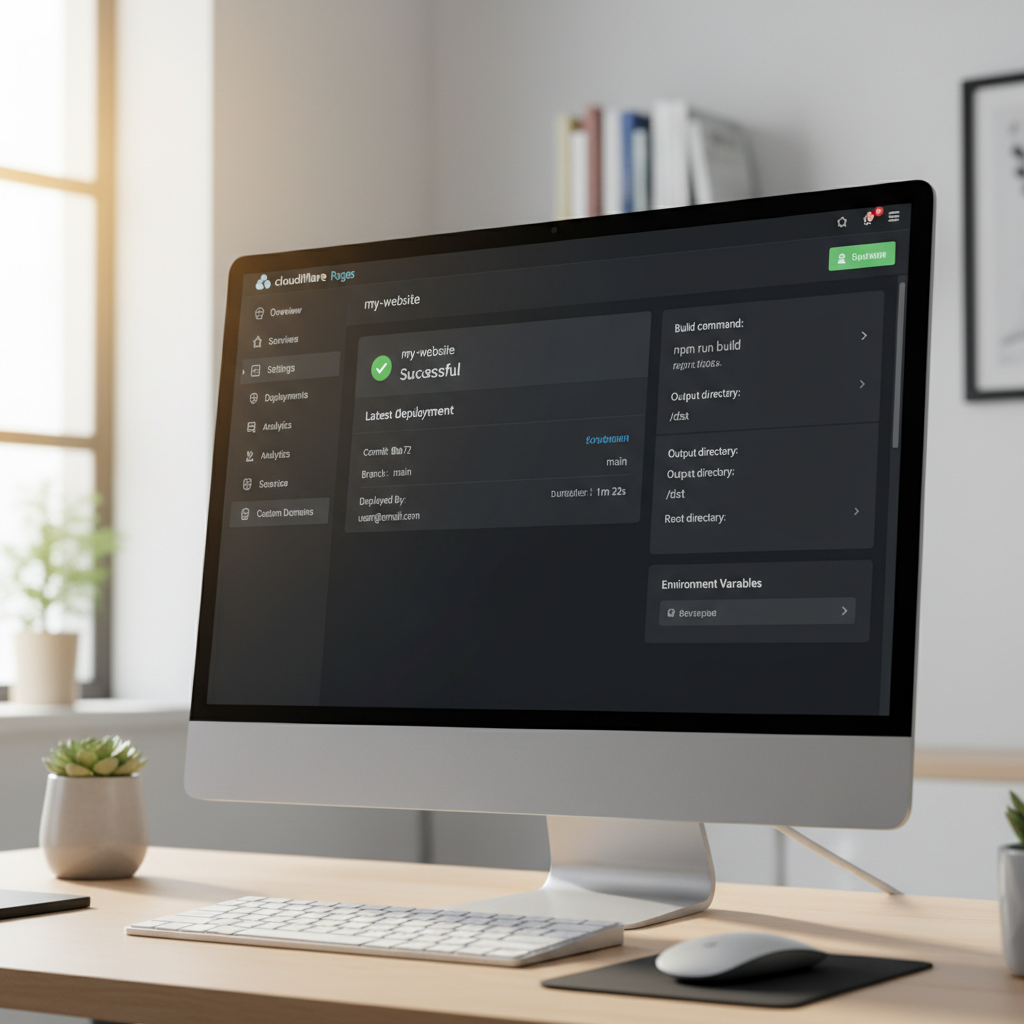
Deployments usually fail for beginners right here. AI generators often write code using Node-based frameworks like Vite and React. You must tell Cloudflare exactly how to build the site into static files.
- Framework preset: Select React or Vite.
- Build command: Type
npm run build. - Build output directory: Type
dist.
Click Save and Deploy. Cloudflare pulls the code from GitHub, installs the software dependencies, and spits out a live web address ending in pages.dev. Your website is officially on the internet.
Step 4: Configure environment variables for API keys
If your website uses AI features in production, it needs a Gemini API key to function. Never hardcode an API key directly into your GitHub repository. Bots scan public repositories for exposed keys and rack up massive bills on your account.
You must inject the key safely through Cloudflare.
- Go to your Cloudflare Pages dashboard for this project.
- Click Settings, then navigate to Environment Variables.
- Click Add Variable.
- Set the Variable Name exactly as your code expects it (often
VITE_GEMINI_API_KEY). - Paste your actual API key into the Value field and click Save.
- Trigger a new deployment so Cloudflare builds the site with the new key injected.
Your AI features now work on the live URL. You hide your private billing credentials from the public.
Fixing the blank white page error
Sometimes you click your live link and see a blank white screen. This happens because the AI generator broke the base path in your Vite configuration files.
Don’t panic. You don’t need to learn how to code to fix it.
Go back to your Google AI Studio project. Paste this exact prompt into the chat window:
"Update the vite.config.ts file so the base is set to '/' for production deployment. Do not change anything else about the website or its design."
Wait for the AI to rewrite the configuration file, then push the update to GitHub. Cloudflare rebuilds the site automatically within 2 minutes. Your white screen vanishes, and your design loads.
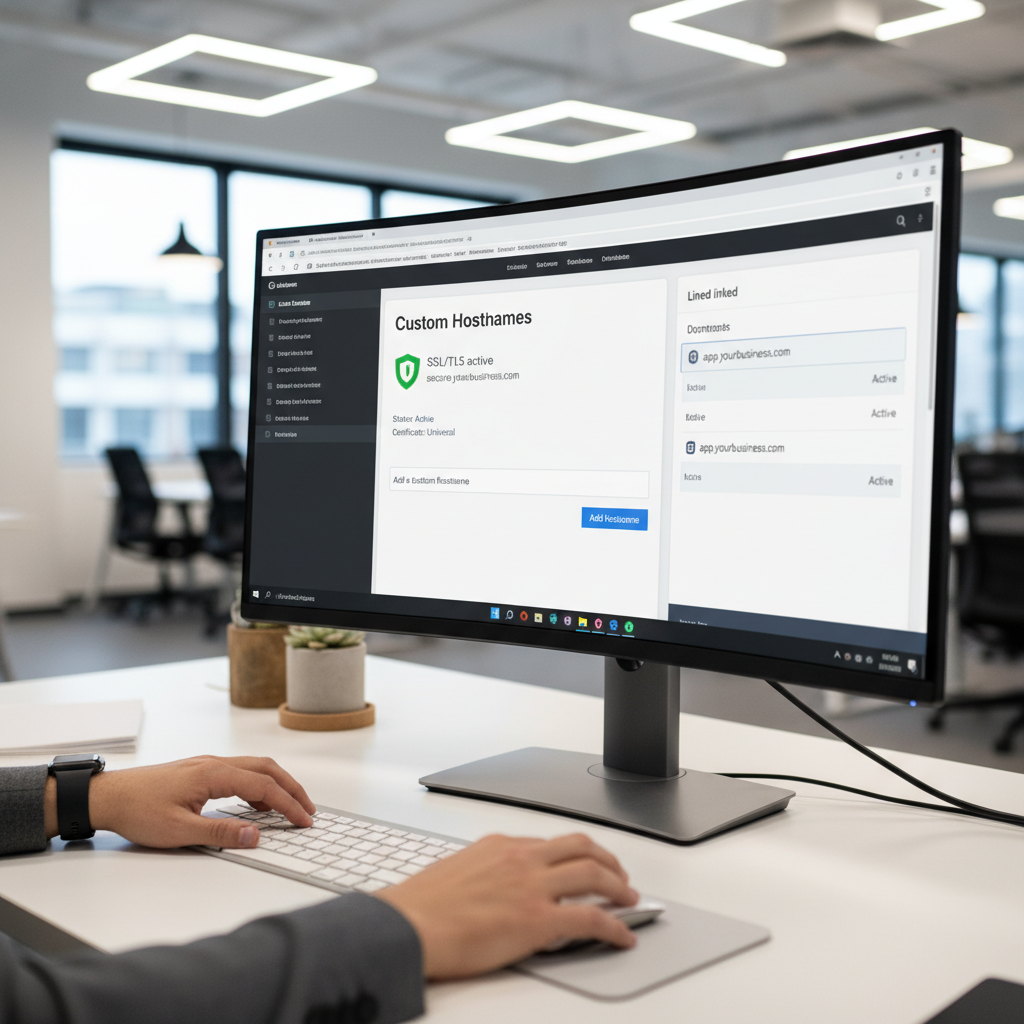
Step 5: Attach a custom domain name
A .pages.dev URL works for testing, but a real business needs a domain like cakebook.com. Cloudflare makes attaching a custom domain straightforward because they sell domains themselves.
Click the Custom Domains tab in your Cloudflare dashboard and hit Setup Custom Domain. Type in your domain name. Cloudflare configures your DNS records in 1 click if you bought the domain through them, or hands you a CNAME record for outside registrars.
Log into your domain registrar, navigate to the DNS management settings, and paste that CNAME record. DNS changes take anywhere from 5 minutes to a few hours to propagate. Once connected, your AI website loads securely on your custom address.
Cloudflare Pages vs Workers for AI apps
Cloudflare originally had 2 separate hosting products. You will see both mentioned in deployment documentation. Here is exactly how they handle your code.
| Feature | Cloudflare Pages | Cloudflare Workers |
|---|---|---|
| Best Used For | Static front-end websites like portfolios, landing pages, and blogs. | Backend logic, dynamic data retrieval, APIs, and database connections. |
| Setup Difficulty | Very easy. You just connect your GitHub repository and click deploy. | Requires technical configuration and custom routing setup files. |
| Deployment Speed | Typically finishes within 1 to 3 minutes. | Deploys instantly in under 10 seconds. |
Modern applications require both front-end visuals and backend logic. Cloudflare bolted these systems together behind the scenes. When you deploy a standard website via Pages, Cloudflare serves it using Workers to maximize speed.
To automate this pipeline further, explore The Ultimate Guide to Autonomous AI Agents in 2026. Advanced setups use agentic AI to handle error logging and code deployment loops without human intervention.
The pros and cons of this deployment stack
This deployment method works perfectly for rapid prototyping. It gives you a fast way to show clients or investors exactly what you built. But it carries technical limitations you must understand before launching a massive software business on it.
Pros
- Free to start and handles up to 100,000 monthly requests.
- Requires 0 command line or server terminal experience.
- Changes auto-sync directly from GitHub on future updates.
- The global CDN network ensures your website loads fast anywhere.
Cons
- Connecting custom domains from outside registrars requires manual DNS updates.
- AI often breaks directory build paths, causing temporary white screen errors.
- Lacks a native built-in database required for complex user login flows.
Frequently asked questions
Do I need to pay for Cloudflare to deploy my site?
No. Cloudflare Pages offers a massive free tier designed for developers. You can host your Google AI Studio project and pull plenty of traffic without entering a credit card number.
Will I lose my website if I accidentally delete my AI Studio session?
Not if you followed step 2 correctly. Because you pushed the code to GitHub, your website source files sit safe on Microsoft’s servers. You can clone that repository into any text editor later and continue working.
Why does my site look completely broken on a mobile phone?
The AI likely wrote CSS that only targets wide desktop screens. Open your project in Google AI Studio and prompt it to "Make the layout fully responsive for mobile phone viewing using CSS media queries." Push those changes to GitHub to update the live site.
Final thoughts
You now hold the blueprint to generate an interface using AI and launch it for free. Knowing how to stitch these tools together with infrastructure like GitHub and Cloudflare makes you a builder. Start with a simple landing page today, push it live, and check out our About page if you get stuck.

Written by Mangaleswaran
Mangaleswaran is the founder of AIZnap (aiznap.com) and a dedicated AI content creator. With a background in blogging and technology, he has a deep passion for making artificial intelligence accessible to everyone. He specializes in breaking down complex AI tools, tutorials, and updates into simple, practical guides that anyone can follow. Whether you are a complete beginner or someone looking to use AI to build websites, apps, or grow your online presence — Mangaleswaran's content is designed to help you take action with confidence.
View all posts